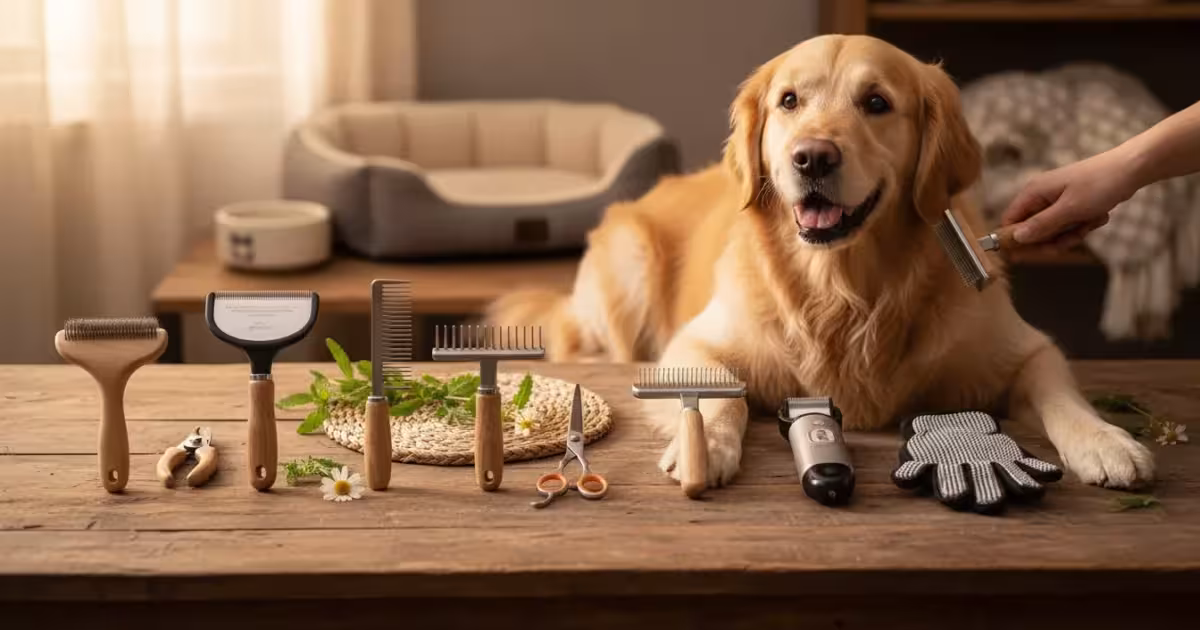
Regular grooming offers more than just a clean, shiny coat for your dog. It plays a vital role in their overall health, comfort, and even strengthens the bond you share. As an experienced pet care writer specializing in product reviews, I understand the importance of selecting the right tools for the job. Effective grooming prevents painful mats, reduces skin issues, keeps nails at a healthy length, and allows you to routinely check your dog for lumps, bumps, or parasites.
You might feel overwhelmed by the sheer number of grooming products available. We simplify this process by identifying the essential tools every dog owner needs, providing practical advice on their use, and explaining what makes a quality product. You can achieve professional-level grooming at home with the right equipment and techniques, ensuring your dog stays happy and healthy.
The Importance of Regular Grooming
Grooming is not merely a cosmetic routine. It provides essential preventative care for your dog. Daily brushing, for example, helps distribute natural skin oils, promoting a healthy, shiny coat while minimizing shedding around your home. More importantly, it prevents painful matting, which can lead to skin infections and discomfort. Regular grooming also allows you to catch potential health issues early, such as skin lesions, parasites, or unusual growths, giving you a chance to address them with your veterinarian promptly.
According to the American Kennel Club (AKC), consistent grooming, including brushing, bathing, nail trims, and ear cleaning, contributes significantly to a dog’s overall well-being. It helps maintain proper hygiene, prevents skin irritation, and even keeps your home cleaner. By investing a little time each week, you contribute immensely to your dog’s physical health and emotional comfort.
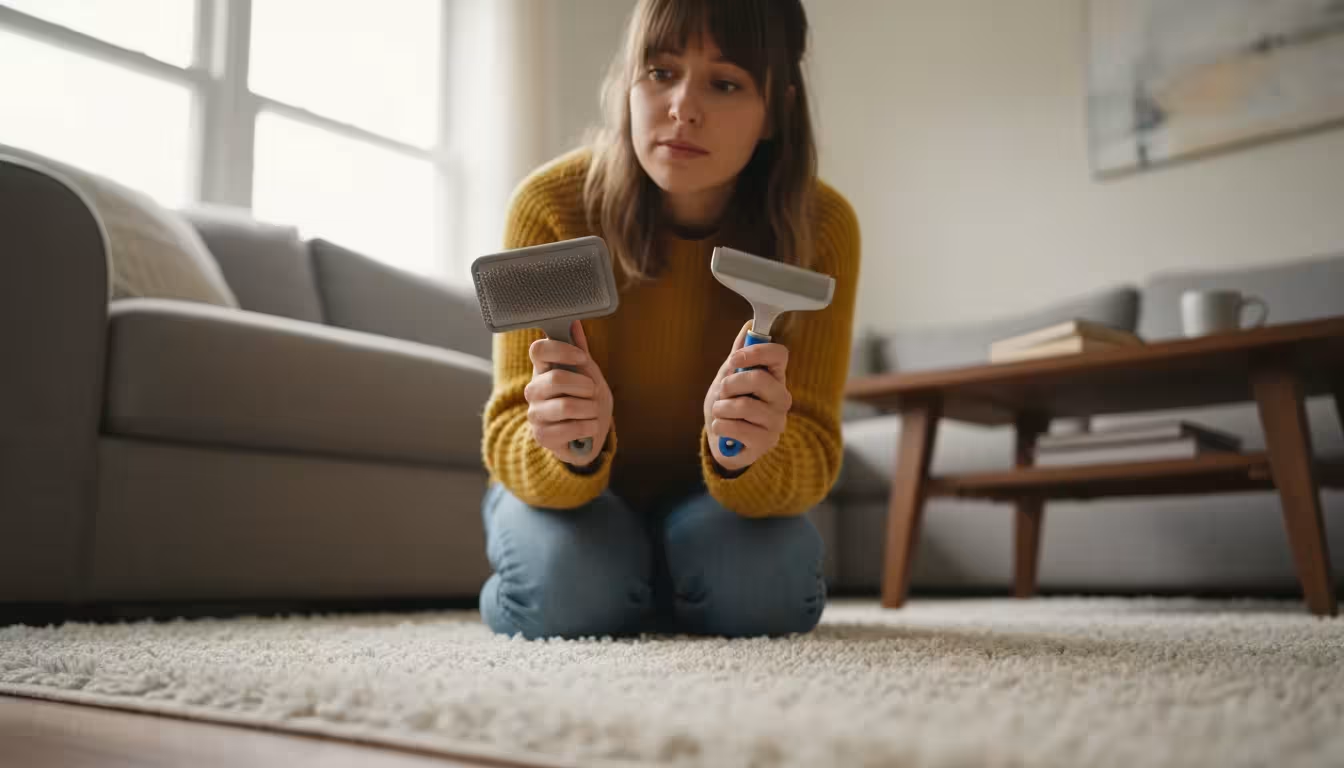
1. Slicker Brush: For Tangles and Shedding
A slicker brush is indispensable for most coat types, especially those prone to tangles and mats. Its fine, short wires, closely set on a flat or curved surface, effectively remove loose fur and minor mats from the undercoat and topcoat. You find this tool particularly effective for dogs with medium to long hair, such as Golden Retrievers, Border Collies, or Poodles.
How to Choose a Quality Slicker Brush
- Pin Material and Flexibility: Look for brushes with sturdy yet flexible pins. Stiffer pins work well for dense coats, while softer ones suit sensitive skin.
- Ergonomic Handle: A comfortable grip reduces hand fatigue during longer grooming sessions.
- Self-Cleaning Feature: Some slicker brushes offer a push-button mechanism to retract the pins, simplifying hair removal from the brush head. This feature enhances convenience and prolongs the brush’s life.
Using Your Slicker Brush Safely
Brush gently, using short, deliberate strokes, always brushing in the direction of hair growth. Avoid pressing down too hard, which can scratch or irritate your dog’s skin. You can untangle small mats by gently working through them with the brush, starting from the ends and moving towards the skin. Always use positive reinforcement, like treats and praise, to make this a pleasant experience for your dog.
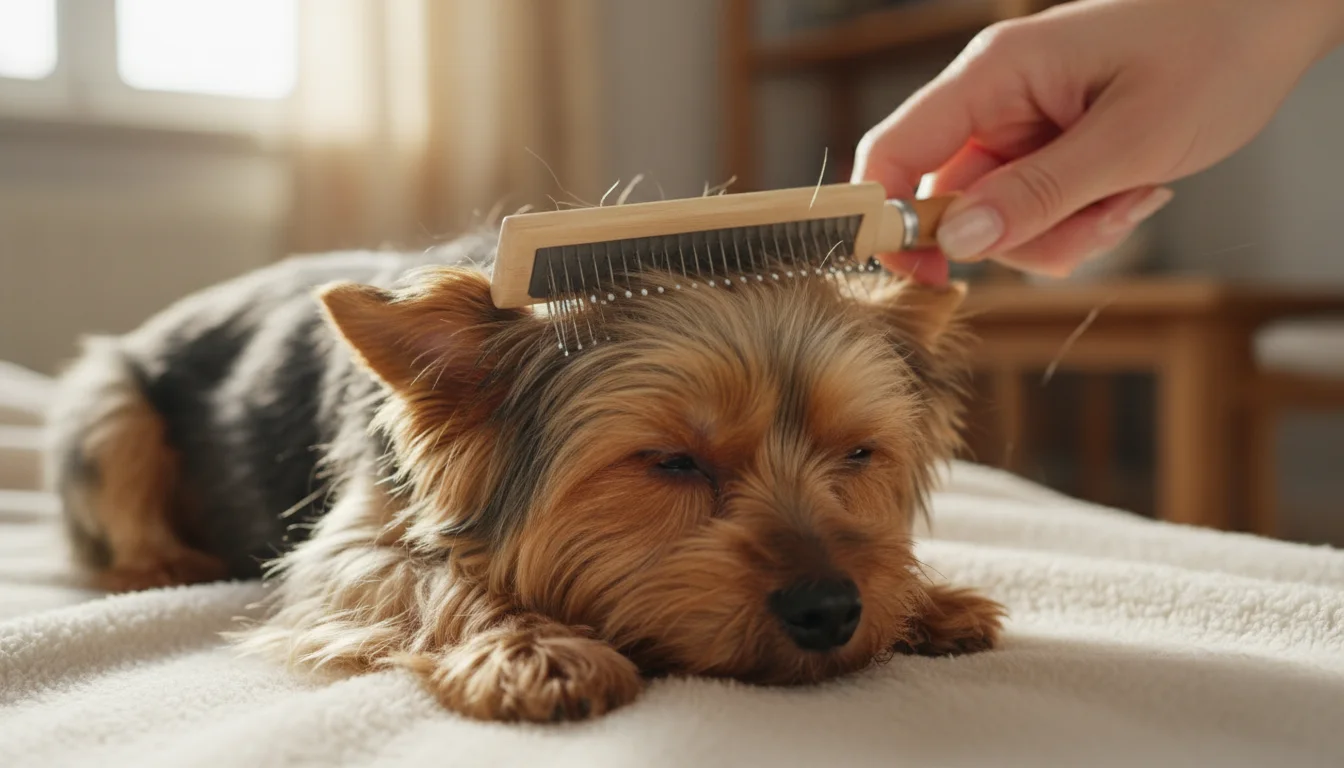
2. Pin Brush: For Long and Wiry Coats
While a slicker brush tackles shedding and mats, a pin brush excels at detangling longer hair and removing loose hair from dogs with curly, wavy, or wiry coats. Breeds like Yorkshire Terriers, Afghan Hounds, and some terriers benefit greatly from regular pin brush use. Its widely spaced metal pins, often topped with protective beads, penetrate deeply into the coat without pulling the hair or scratching the skin.
What to Look For
- Pin Quality: Ensure the pins have rounded tips to prevent scratching your dog’s skin. High-quality pins resist bending or breaking over time.
- Size: Choose a brush size appropriate for your dog’s size. Larger brushes cover more area on big dogs, while smaller ones offer precision for toy breeds.
- Handle Comfort: As with all grooming tools, an ergonomic handle makes a significant difference in your comfort during use.
Effective Pin Brush Technique
Use the pin brush to gently work through your dog’s coat, removing tangles and smoothing the hair. It effectively finishes the coat after a slicker brush has removed the bulk of loose fur. You can also use it to fluff the coat during drying after a bath. Always brush in sections to ensure you cover the entire body thoroughly.
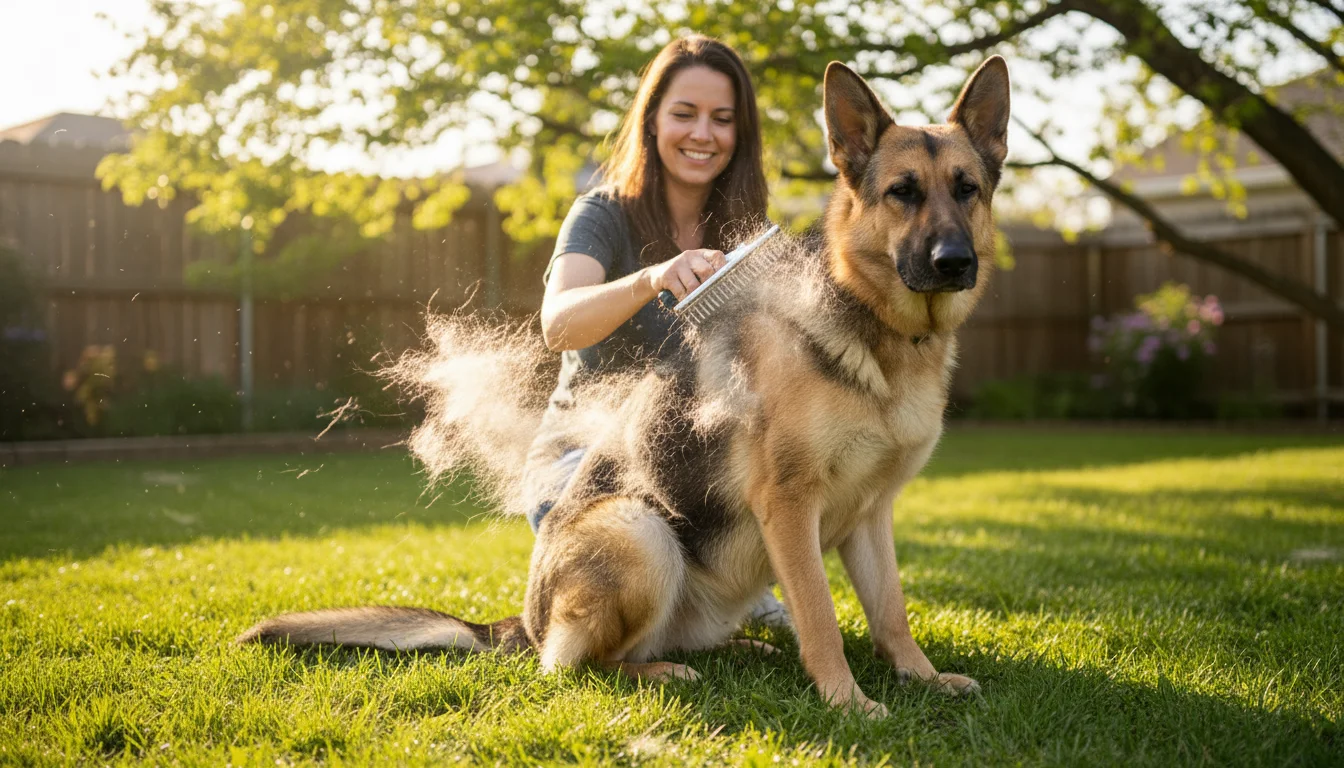
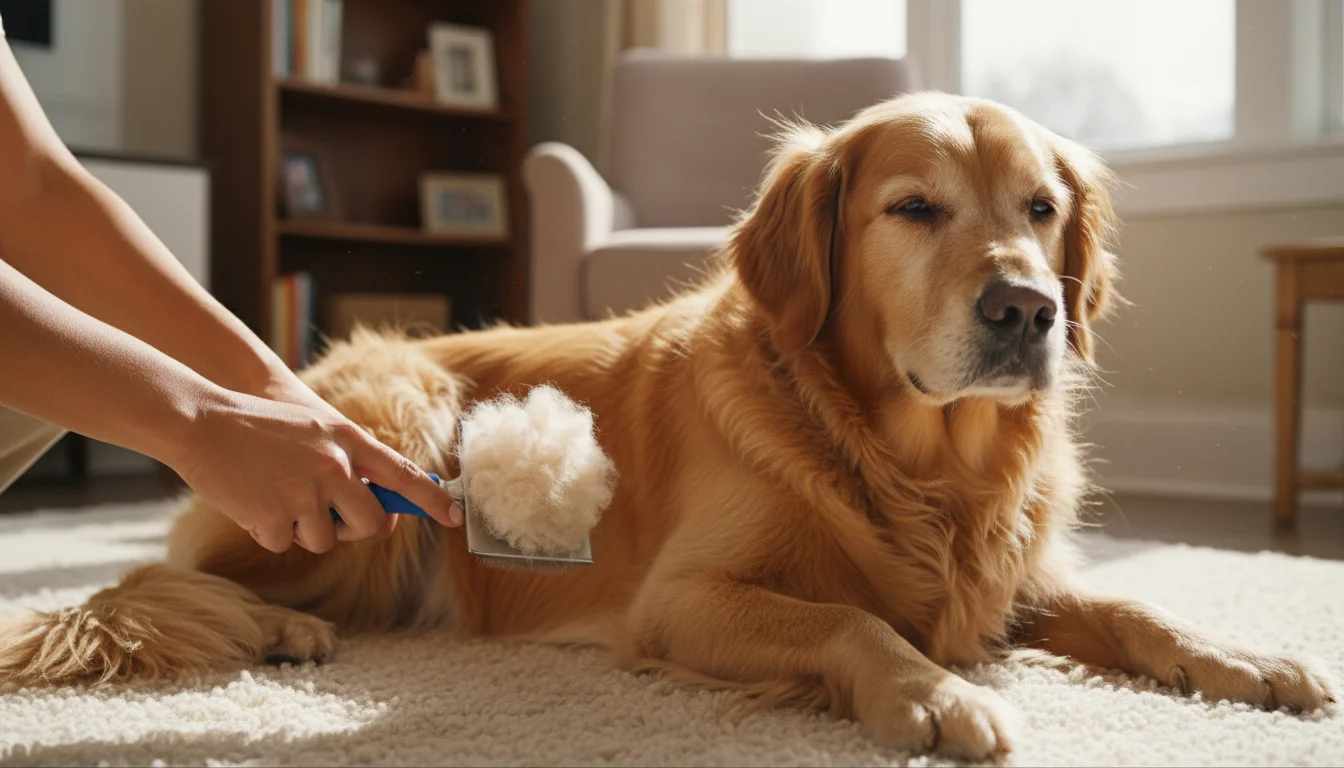
3. Deshedding Tool: For Excess Undercoat
If your dog sheds heavily, a specialized deshedding tool becomes an absolute game-changer. These tools, often recognized by their fine-toothed blade design, reach deep into the undercoat to remove loose, dead hair that a regular brush might miss. This significantly reduces shedding and prevents undercoat matting, which is particularly common in double-coated breeds like German Shepherds, Huskies, and Labrador Retrievers.
Choosing the Right Deshedding Tool
- Blade Length and Design: Select a tool with a blade length suited for your dog’s coat type. Shorter blades work well for short-haired dogs, while longer blades suit medium to long coats.
- Ergonomics: A comfortable, non-slip handle allows for secure gripping, especially when handling a squirming dog.
- Quality of Materials: A durable stainless steel blade maintains sharpness and effectiveness over time.
Using a Deshedding Tool Safely
Use a deshedding tool sparingly, typically once or twice a week during shedding season. Overuse can strip the coat or irritate the skin. Use short, gentle strokes, and always brush in the direction of hair growth. Never apply excessive pressure. You will be amazed at the amount of loose hair these tools remove, making a noticeable difference in your home’s cleanliness and your dog’s comfort.
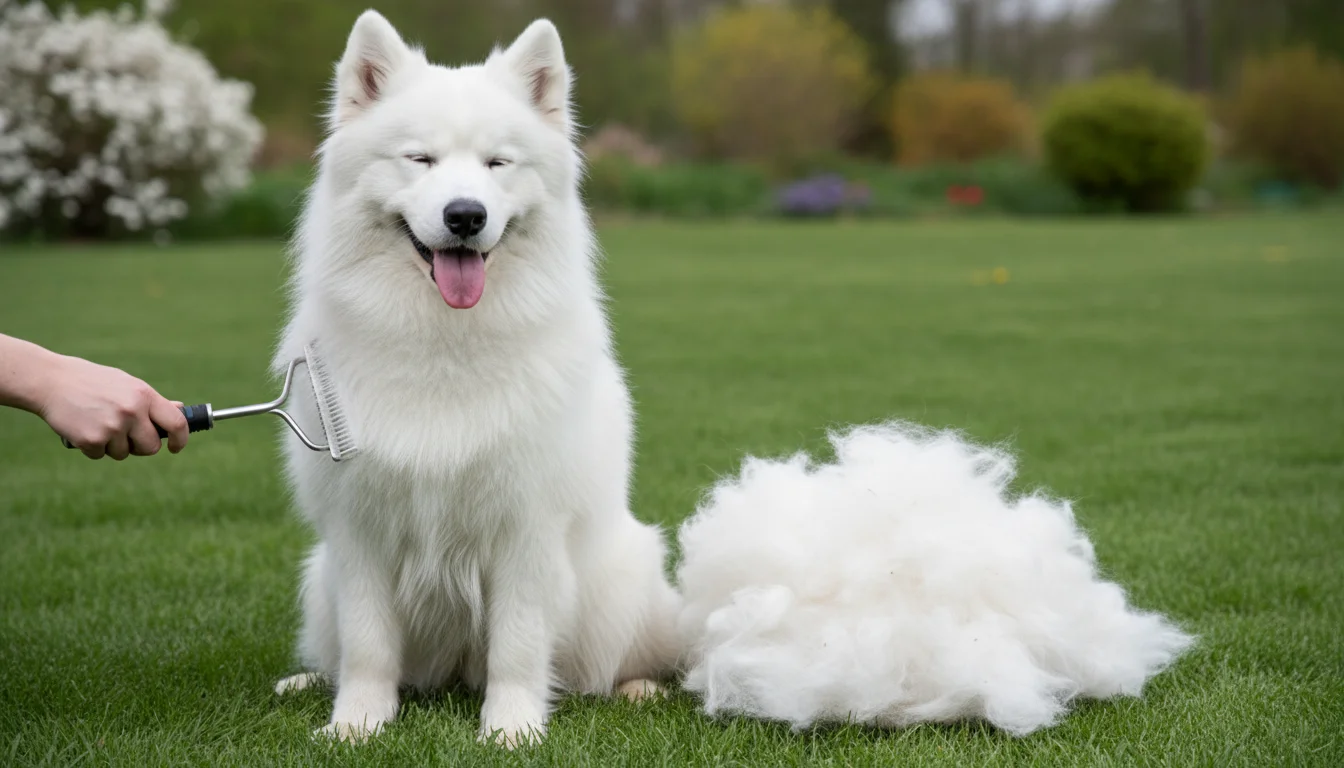
4. Undercoat Rake: For Dense Double Coats
For breeds with extremely dense double coats, such as Newfoundlands, Samoyeds, or Great Pyrenees, an undercoat rake is essential. This tool features long, widely spaced teeth designed to penetrate through the thick topcoat and gently pull out loose undercoat fur. It’s especially effective during seasonal shedding, preventing the undercoat from packing down and causing hot spots or skin irritation.
Selecting an Undercoat Rake
- Tooth Length and Spacing: Match the tooth length to your dog’s coat depth. Wider spacing works best for very thick, coarse coats, while slightly narrower spacing suits medium-density coats.
- Rounded Teeth: Ensure the rake’s teeth have rounded, smooth ends to avoid scratching your dog’s skin.
- Construction: A robust handle and securely fastened teeth ensure the tool lasts through many grooming sessions.
Proper Rake Application
Use the undercoat rake after an initial brush with a slicker or pin brush to remove surface tangles. Work in small sections, gently pulling the rake through the coat. Pay special attention to areas prone to matting, such as behind the ears, under the legs, and around the tail. Always be gentle, stopping immediately if your dog shows any signs of discomfort.
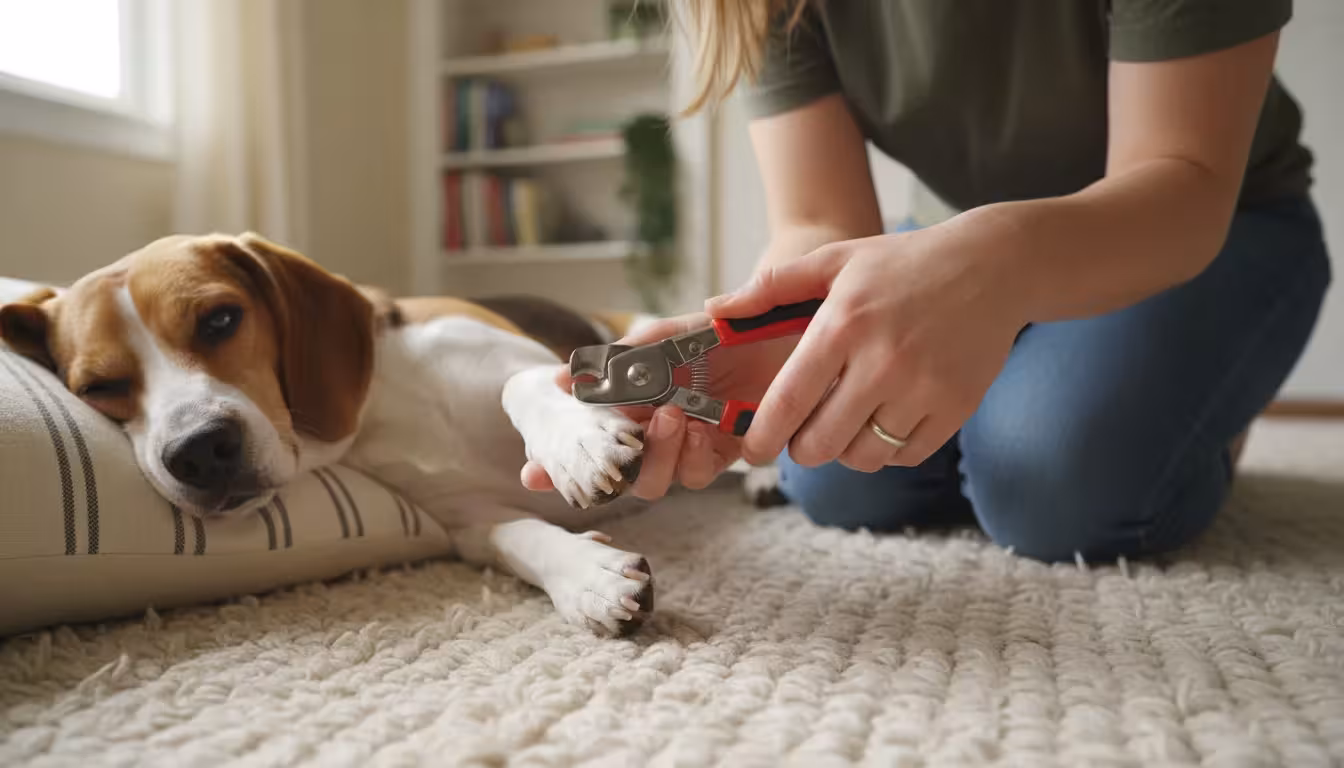
5. Nail Clippers: Precision and Safety
Keeping your dog’s nails trimmed prevents painful overgrown nails, improves gait, and reduces the risk of injury. Overly long nails can cause splayed toes, lead to arthritis, and even make walking uncomfortable. There are two main types of clippers: scissor-style and guillotine-style.
Choosing the Best Nail Clippers
- Scissor-Style Clippers: These resemble scissors with a curved blade and work well for dogs of all sizes, offering good control. Brands like Millers Forge consistently receive high marks for sharpness and durability.
- Guillotine-Style Clippers: Ideal for smaller to medium-sized dogs, these clippers have a hole where you insert the nail, and a blade slices through it. Ensure the blade remains sharp for clean cuts.
- Size: Select clippers appropriate for your dog’s nail thickness. Large clippers for large dogs, small clippers for small dogs.
- Safety Guard: Many clippers include a safety guard to help prevent cutting too far back into the quick, the sensitive part of the nail containing blood vessels and nerves.
Mastering Nail Trimming
Introduce nail trimming gradually, associating it with positive experiences using treats. Hold your dog’s paw firmly and identify the quick. For light-colored nails, the quick appears as a pink area. For dark nails, trim small slivers at a time until you see a gray or white center with a small black dot, indicating you are close to the quick. Clip at a 45-degree angle. If you accidentally cut the quick, use styptic powder to stop the bleeding. The Preventive Vet website offers excellent video tutorials on proper nail trimming techniques.
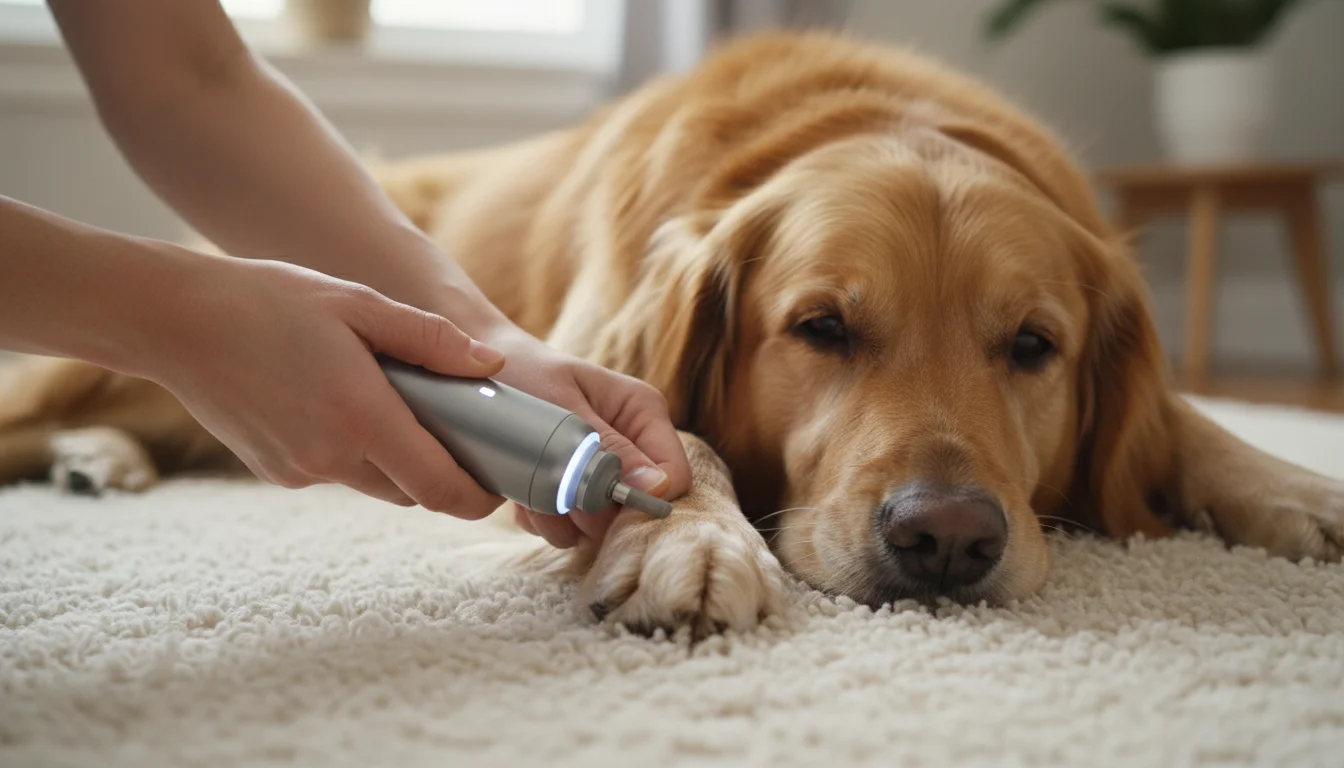
6. Nail Grinder: For Smooth Paws
For dogs fearful of clippers, or if you prefer an even smoother finish, a nail grinder is an excellent alternative. These motorized tools gently file down the nail, eliminating sharp edges and reducing the risk of cutting the quick. They work well for all dog sizes and nail types.
Selecting a Nail Grinder
- Quiet Operation: Dogs often react to noise, so choose a grinder with a quiet motor.
- Variable Speed Settings: Different speeds allow for precise control and faster grinding for thicker nails.
- Battery Life: Look for a rechargeable grinder with decent battery life for convenience.
- Grinding Stone Material: Diamond-bit grinders offer superior durability and effectiveness.
Tips for Grinder Use
Start by acclimating your dog to the sound and vibration of the grinder before touching their nails. Offer treats and praise. Grind the nail for only a few seconds at a time to prevent heat buildup, which can cause discomfort. Work in circles or back and forth, shaping the nail smoothly. Remember to lift any long fur out of the way to prevent it from getting caught in the grinder.
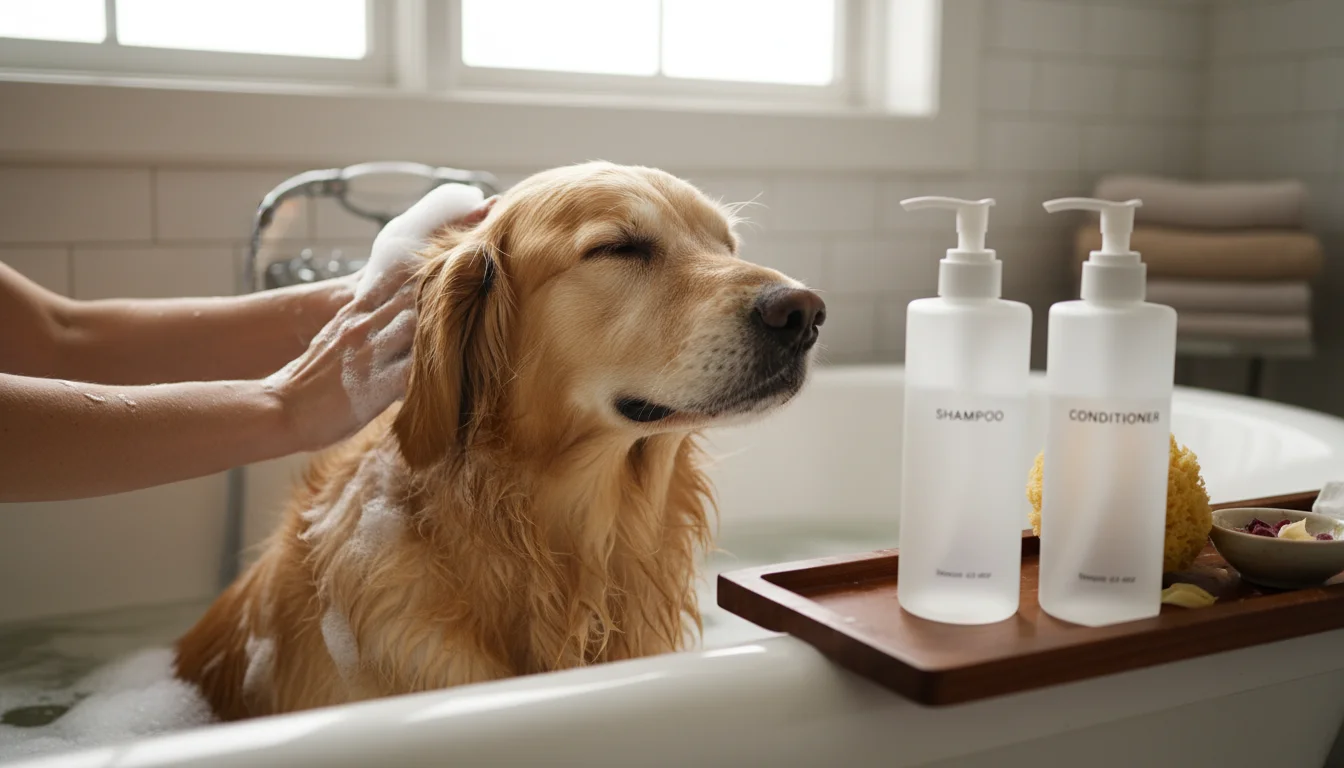
7. Dog-Specific Shampoo and Conditioner
Never use human shampoo or conditioner on your dog. Their skin pH differs significantly from ours, and human products can strip their natural oils, leading to dry, itchy skin and irritation. Dog-specific shampoos are formulated to maintain their skin’s natural balance while effectively cleaning the coat.
Choosing the Right Products
- Hypoallergenic/Sensitive Skin: For dogs with allergies or sensitive skin, select oatmeal-based, fragrance-free, or veterinary-recommended hypoallergenic formulas.
- Coat Type Specific: Some shampoos cater to specific coat needs, such as brightening for white coats, deep cleaning for oily coats, or moisturizing for dry coats.
- Natural Ingredients: Products with natural ingredients like aloe vera, chamomile, or essential oils (ensure they are dog-safe) can soothe and condition the skin and coat.
- Conditioner: Follow shampoo with a dog-specific conditioner to hydrate the skin, soften the coat, and make detangling easier.
Bathing Your Dog
Brush your dog thoroughly before bathing to remove loose hair and tangles. Wet your dog completely with lukewarm water. Apply shampoo, working it into a lather, paying attention to areas like the belly and paws. Rinse thoroughly until no suds remain, as residue can irritate the skin. Apply conditioner, let it sit for a few minutes, then rinse well. Towel dry vigorously and consider using a dog-specific blow dryer on a cool setting for long-haired breeds.
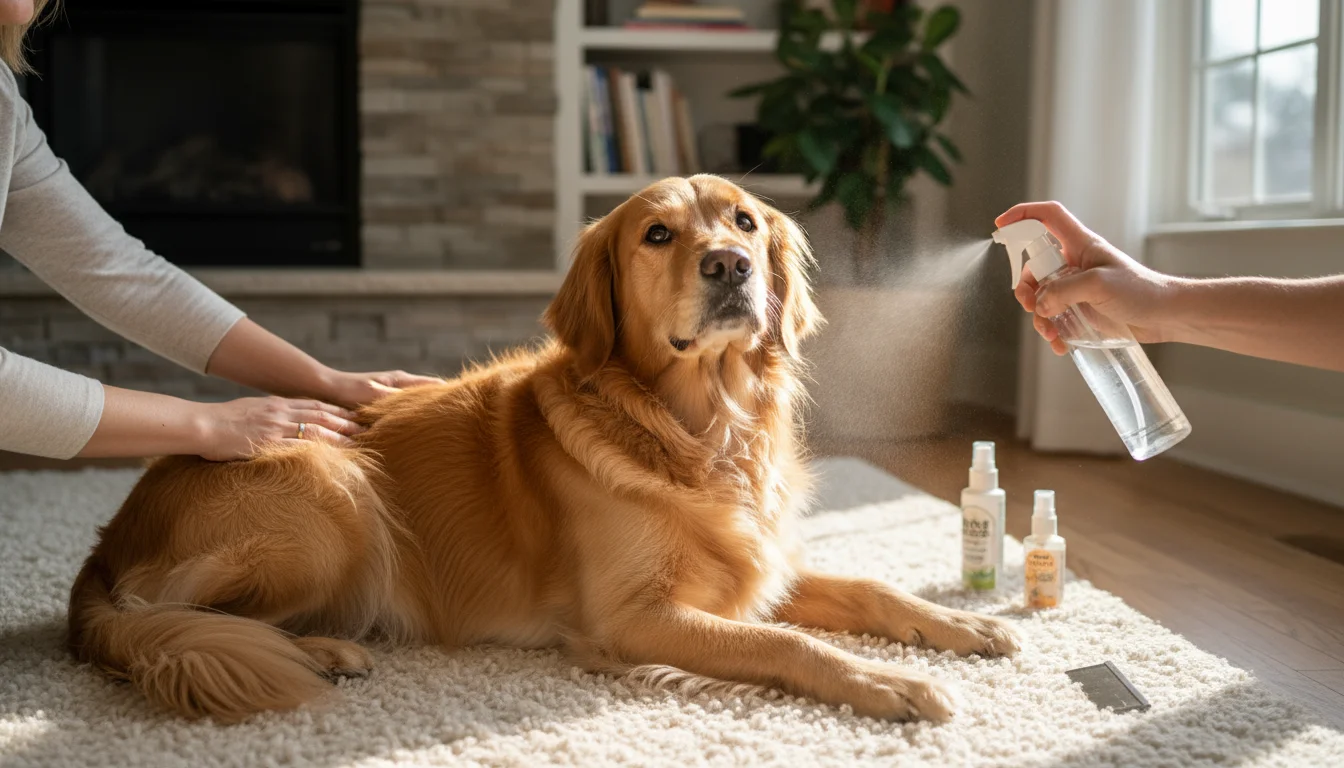
8. Detangling Spray: For Mat Prevention
A good detangling spray works wonders for dogs with long, curly, or fine hair prone to matting. You use these sprays before brushing to loosen tangles and reduce static, making the grooming process easier and more comfortable for your dog. They often contain conditioning agents that nourish the coat, leaving it soft and manageable.
Selecting a Detangling Spray
- Ingredient List: Look for sprays free of harsh chemicals, alcohol, or artificial fragrances. Natural ingredients like argan oil, coconut oil, or silk proteins add moisture and shine.
- Hypoallergenic Options: If your dog has sensitive skin, choose a hypoallergenic, fragrance-free formula.
- Ease of Application: A fine mist spray ensures even distribution without over-saturating the coat.
Effective Use of Detangling Spray
Spray a light mist over your dog’s coat, focusing on areas prone to tangles. Let it sit for a moment to allow the product to penetrate the hair. Then, use your pin brush or slicker brush to gently work through the coat, starting from the ends and moving towards the skin. This reduces pulling and discomfort, turning what could be a frustrating task into a manageable one.
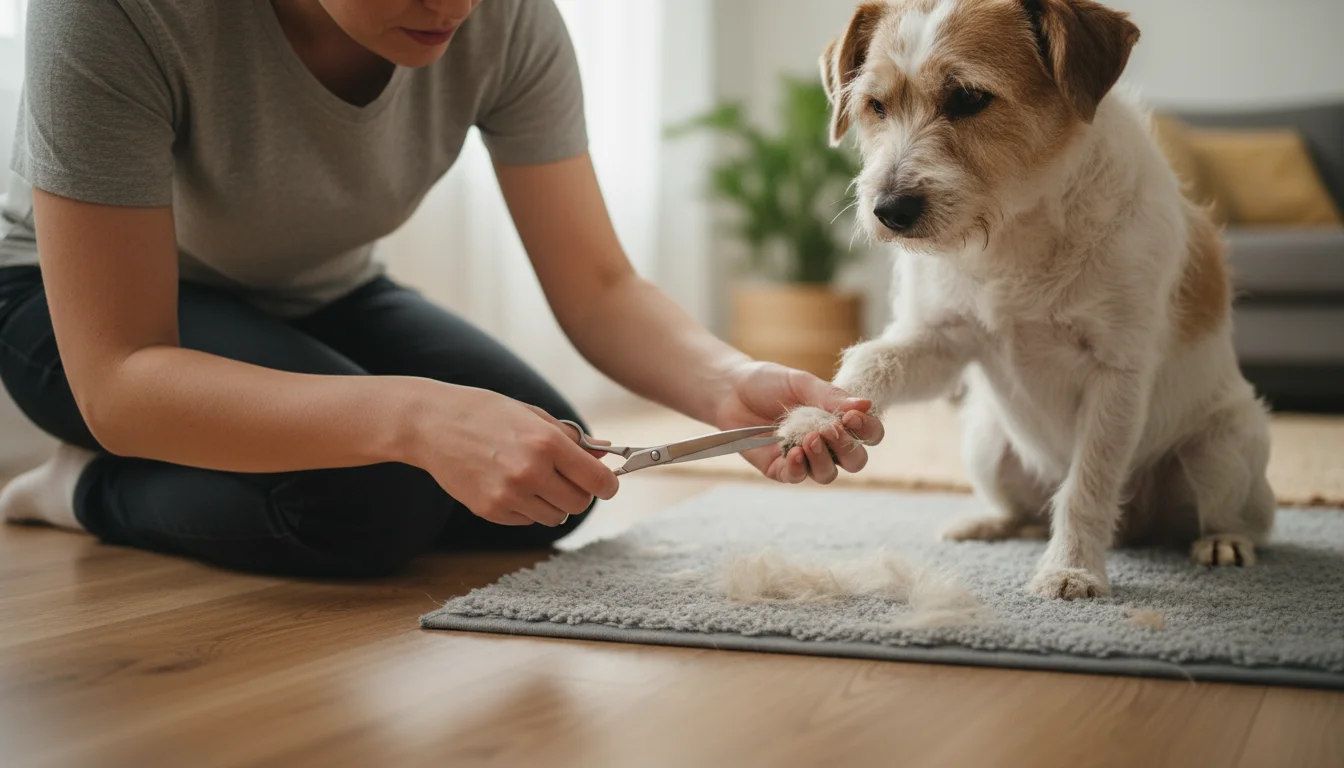
9. Grooming Shears: For Touch-Ups
While you might leave major haircuts to professional groomers, a pair of quality grooming shears is invaluable for quick touch-ups. These include trimming around the paws, eyes, ears, or sanitary areas. Opt for blunt-tip shears to minimize the risk of accidental injury.
Choosing Safe Grooming Shears
- Blunt Tips: This is a crucial safety feature, preventing accidental pokes or cuts, especially around sensitive areas like the eyes or paw pads.
- Stainless Steel Blades: High-quality stainless steel blades stay sharp longer and provide clean cuts, reducing pulling.
- Ergonomic Design: Comfortable finger loops and a lightweight design make them easier to control.
- Size: A smaller, precise pair of shears is best for detail work.
Using Shears Responsibly
Always use grooming shears with extreme caution. Ensure your dog remains calm and still. Use your non-dominant hand to hold the fur and skin taut, keeping your fingers between the blade and your dog’s skin whenever possible. Only trim small amounts of hair at a time. If you feel unsure, consult a professional groomer for guidance or consider allowing them to handle all scissoring tasks.
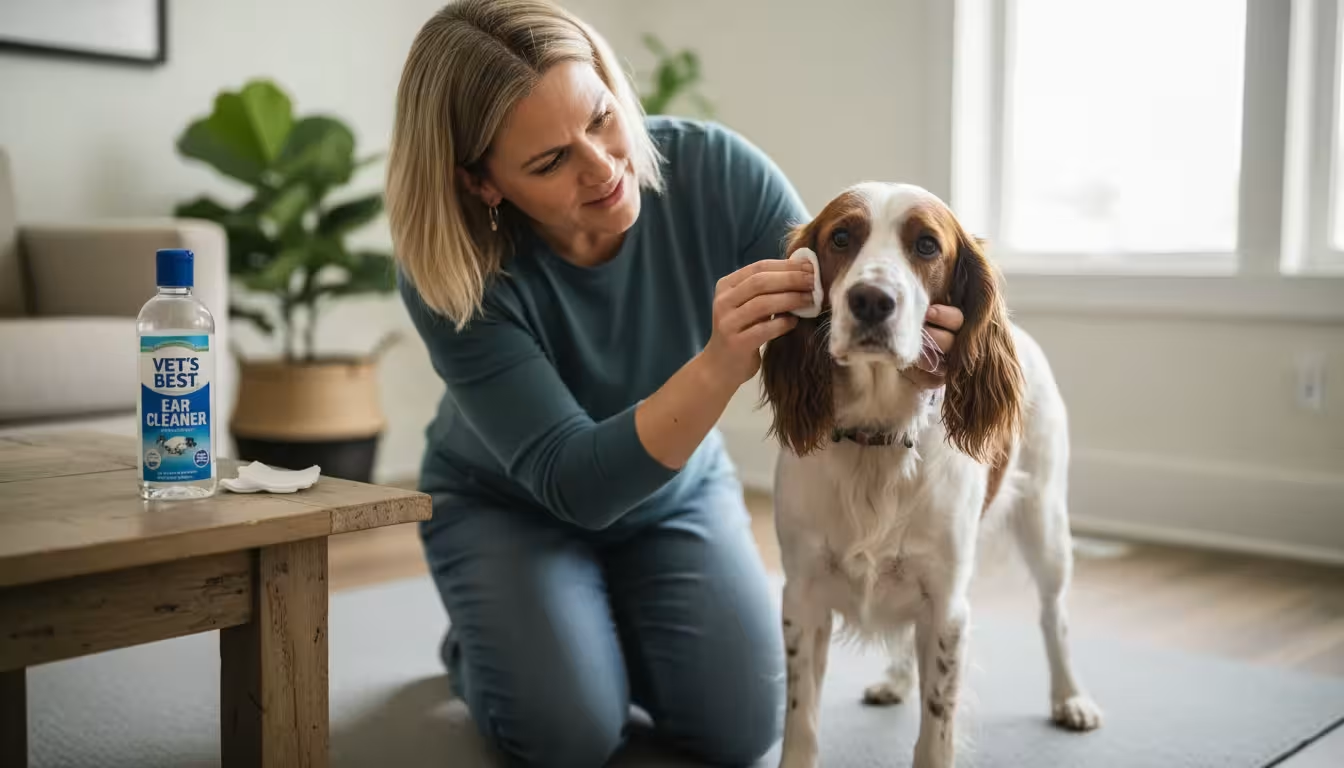
10. Ear Cleaner and Cotton Pads
Ear care is a critical, yet often overlooked, part of canine grooming. Regular cleaning prevents wax buildup, reduces the risk of ear infections, and allows you to monitor for any signs of irritation or parasites. You should use a dog-specific ear cleaner, as human products can upset the delicate pH balance in a dog’s ear canal.
Selecting an Ear Cleaner
- Veterinary Recommended: Always choose an ear cleaner specifically formulated for dogs and preferably recommended by your veterinarian.
- Gentle Ingredients: Look for solutions that are non-irritating and free from alcohol. Ingredients like witch hazel or aloe can soothe.
- Ease of Use: A nozzle designed for easy application into the ear canal simplifies the process.
Safe Ear Cleaning Steps
Gather your ear cleaner, cotton balls or pads (avoid cotton swabs, which can push debris deeper), and treats. Gently lift your dog’s ear flap. Apply the recommended amount of cleaner into the ear canal. Massage the base of the ear for about 30 seconds to help break up wax and debris. Allow your dog to shake their head, which helps expel the cleaner and loosened debris. Finally, use cotton balls or pads to gently wipe away any visible dirt or wax from the outer ear canal and ear flap. Never insert anything deep into the ear canal. If you notice a foul odor, excessive redness, discharge, or if your dog frequently shakes their head or scratches their ears, consult your veterinarian, as these indicate an infection.
General Grooming Best Practices
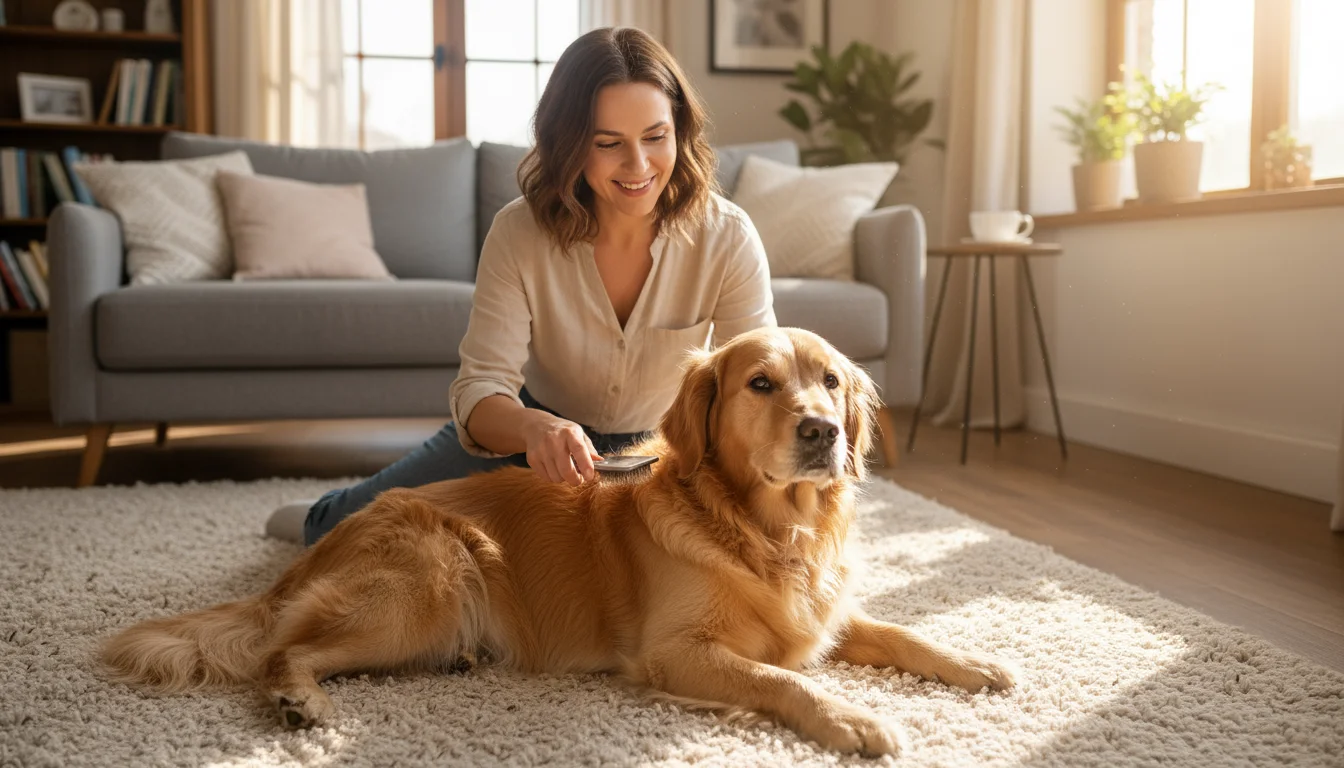
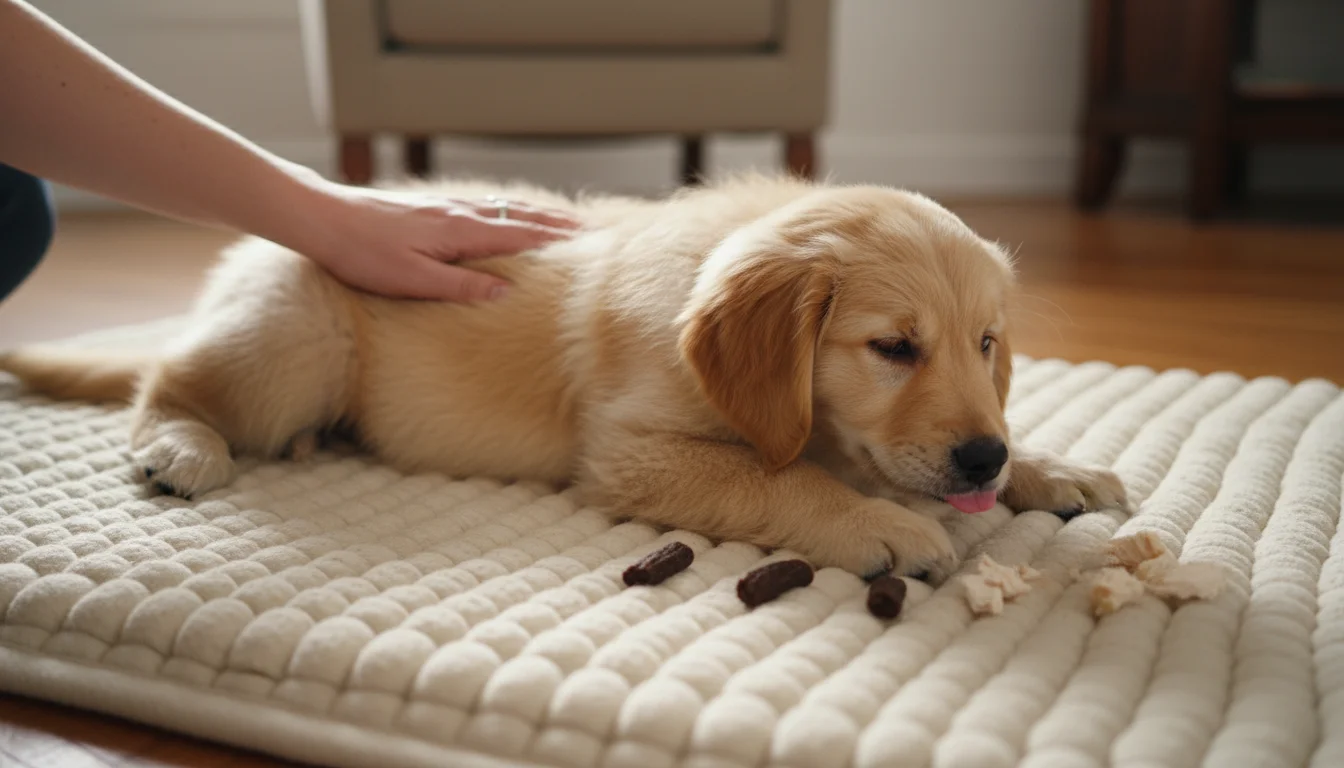
Implementing a consistent grooming routine yields the best results for your dog’s health and your sanity. You need to make grooming a positive experience from an early age. Start with short, gentle sessions, always pairing grooming with high-value treats and praise. This positive reinforcement approach helps your dog associate grooming with pleasant feelings, reducing anxiety and making future sessions much easier.
Key Tips for Success
- Consistency is Key: Aim for daily brushing for long-haired breeds and several times a week for short-haired dogs. This prevents mats and manages shedding effectively.
- Start Early: Introduce puppies to grooming tools and handling from a young age. This desensitization prevents fear later on.
- Check for Skin Issues: Use grooming sessions as an opportunity to inspect your dog’s skin for rashes, parasites, lumps, or hot spots. Early detection can prevent minor issues from becoming major problems.
- Use High-Quality Tools: Investing in durable, well-designed tools pays off. Sharp clippers and effective brushes make the job easier for you and more comfortable for your dog. Our product reviews consistently show that value-for-money items provide better long-term performance and safety.
- Be Patient and Calm: Your demeanor significantly influences your dog’s reaction. If you remain calm and patient, your dog is more likely to cooperate.
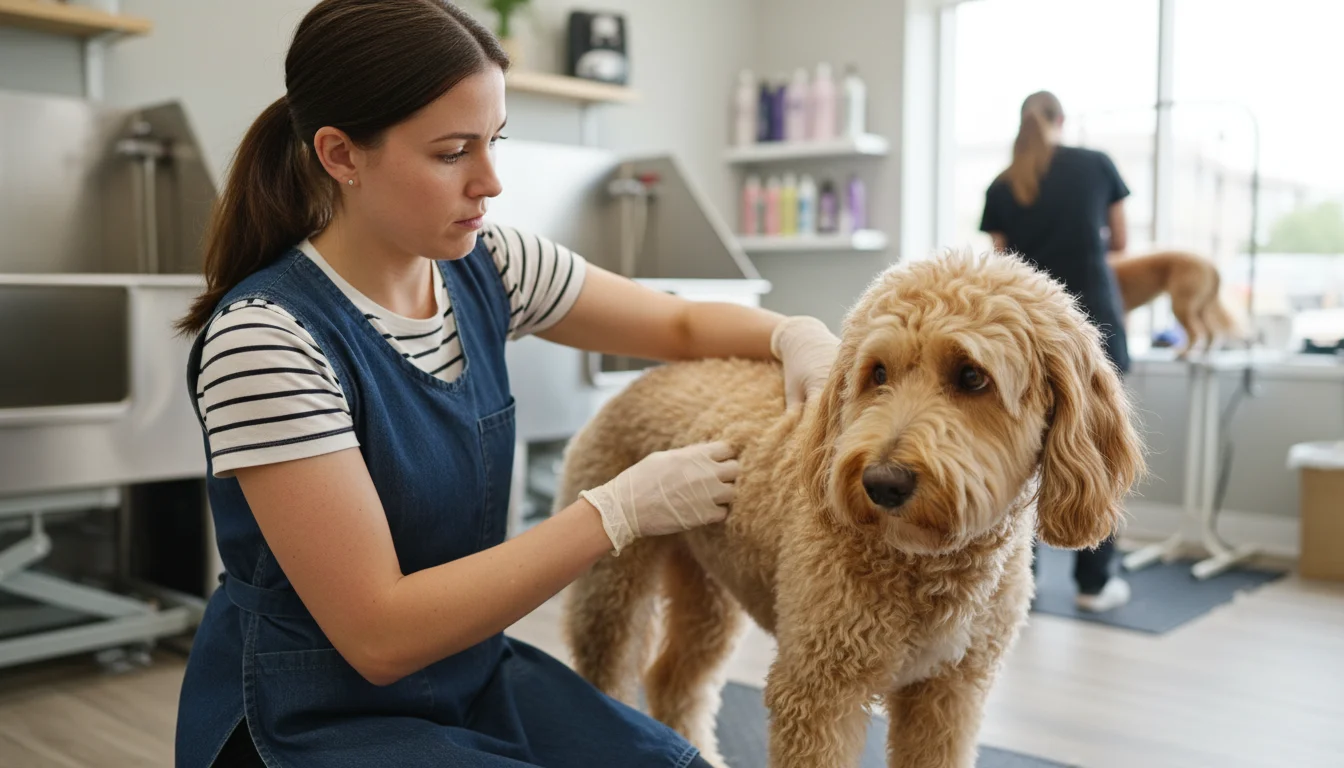
When to Seek Professional Help
While home grooming provides excellent maintenance, some situations warrant professional intervention. You should not hesitate to consult a professional groomer or veterinarian when:
- Severe Matting: Extensive, tight mats are often too painful and difficult to remove safely at home. Professional groomers have specialized tools and techniques to remove them without injuring your dog.
- Complex Breeds: Certain breeds, like Poodles or Bichon Frises, require intricate cuts and styling best handled by experienced groomers.
- Aggression or Extreme Fear: If your dog becomes aggressive or excessively fearful during grooming, a professional groomer or a certified positive reinforcement trainer can help. A certified professional dog trainer can provide desensitization and counter-conditioning techniques.
- Skin or Ear Infections: If you suspect a skin infection, notice excessive ear discharge, or detect unusual odors, contact your veterinarian immediately. Grooming can exacerbate these issues. The American Veterinary Medical Association (AVMA) emphasizes the importance of veterinary consultation for any unusual symptoms.
- Nail Quicking: If you frequently quick your dog’s nails at home, consider professional assistance or using a grinder until the quick recedes.
Frequently Asked Questions
How often should I brush my dog?
The frequency depends on your dog’s breed and coat type. Dogs with long, curly, or double coats benefit from daily brushing to prevent mats and reduce shedding. Short-haired dogs typically need brushing a few times a week to remove loose fur and distribute natural oils.
What should I do if my dog hates having their nails trimmed?
Introduce nail trimming gradually. Start by simply touching their paws, then the clippers, always followed by a treat and praise. You can try a nail grinder, which is less jarring for many dogs. If fear persists, consult a professional groomer or a certified dog trainer who specializes in positive reinforcement and desensitization. Never force your dog, as this can worsen their fear.
Can I use human toothpaste on my dog?
No, you should never use human toothpaste on your dog. Human toothpaste often contains xylitol, an artificial sweetener highly toxic to dogs, or fluoride, which can cause stomach upset. Always use dog-specific toothpaste, which comes in flavors dogs enjoy and is safe if swallowed. While a toothbrush is not on this list, regular dental care is vital for your dog’s health.
How do I get rid of mats without hurting my dog?
For small, loose mats, use a detangling spray and gently work through them with a slicker brush or a metal comb, starting from the outer edges of the mat. Never pull or try to cut a mat with regular scissors, as you risk cutting the skin. For large or tight mats, it is always safest to seek professional help from a groomer. They have specialized tools like mat splitters and trimmers to remove mats safely and with minimal discomfort.
Grooming your dog at home becomes a rewarding experience with the right tools and a gentle, patient approach. You not only keep your furry companion looking their best but also actively contribute to their health and happiness. Investing in these 10 essential grooming tools equips you to manage your dog’s coat, nails, and ears effectively, reinforcing your special bond through regular, positive interaction.
For expert pet care guidance, visit
American Veterinary Medical Association (AVMA),
American Kennel Club (AKC) and
Cat Fanciers’ Association (CFA).
Disclaimer: This article is for informational purposes only and is not a substitute for professional veterinary advice, diagnosis, or treatment. Always consult with a licensed veterinarian for medical concerns about your pet.


Great article providing sound advice.