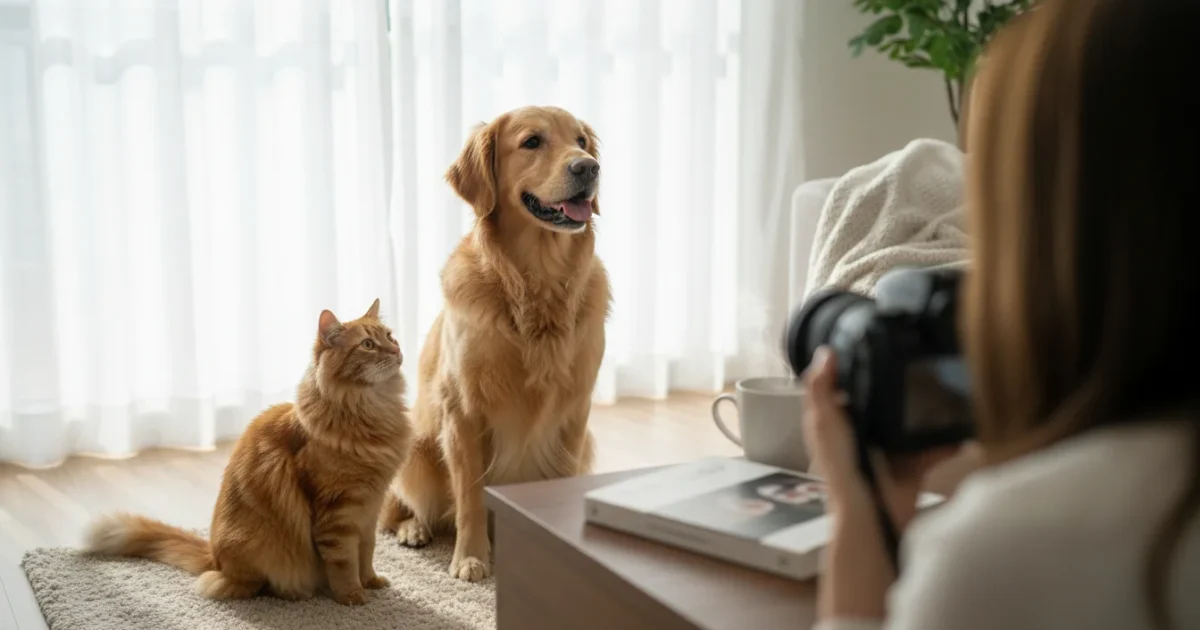
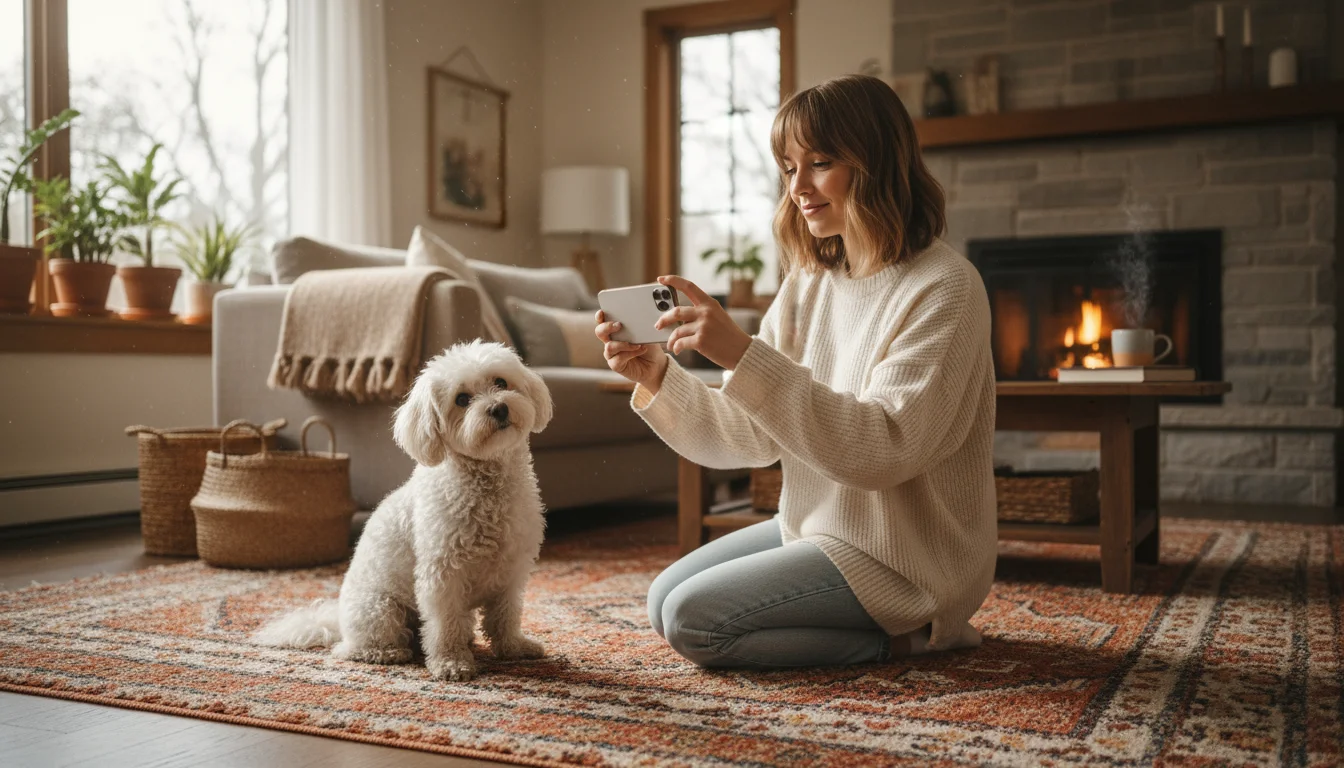
Capturing stunning photographs of your beloved companion enriches your pet lifestyle and provides lasting memories. You do not need expensive equipment or professional training to take beautiful pictures of your cat, dog, or other companion animal. With a few practical pet photography tips for pets, you capture heartwarming images right in your own home. This guide provides actionable insights and evidence-based strategies to help you get the best shots while ensuring your pet’s comfort and happiness.
Understanding Your Pet’s Personality for Photo Success
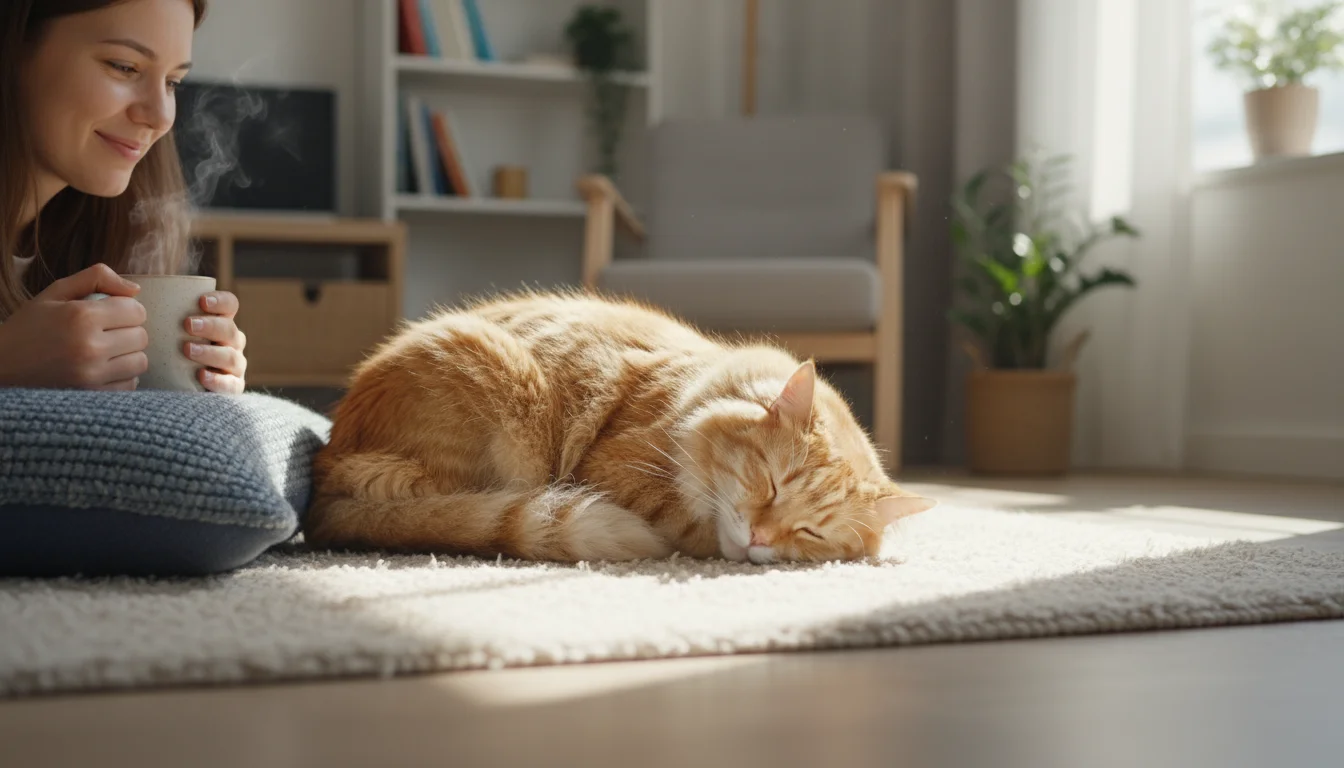
Every pet possesses a unique personality, and recognizing this helps you capture their true essence in photographs. Observe your pet’s habits: Does your cat love napping in sunbeams? Does your dog always greet you with a wagging tail and a favorite toy? Understanding these natural behaviors allows you to anticipate moments and create opportunities for candid shots.
Spending time finding new ways to bond with your cat or dog will help them feel more relaxed and photogenic in front of the lens.
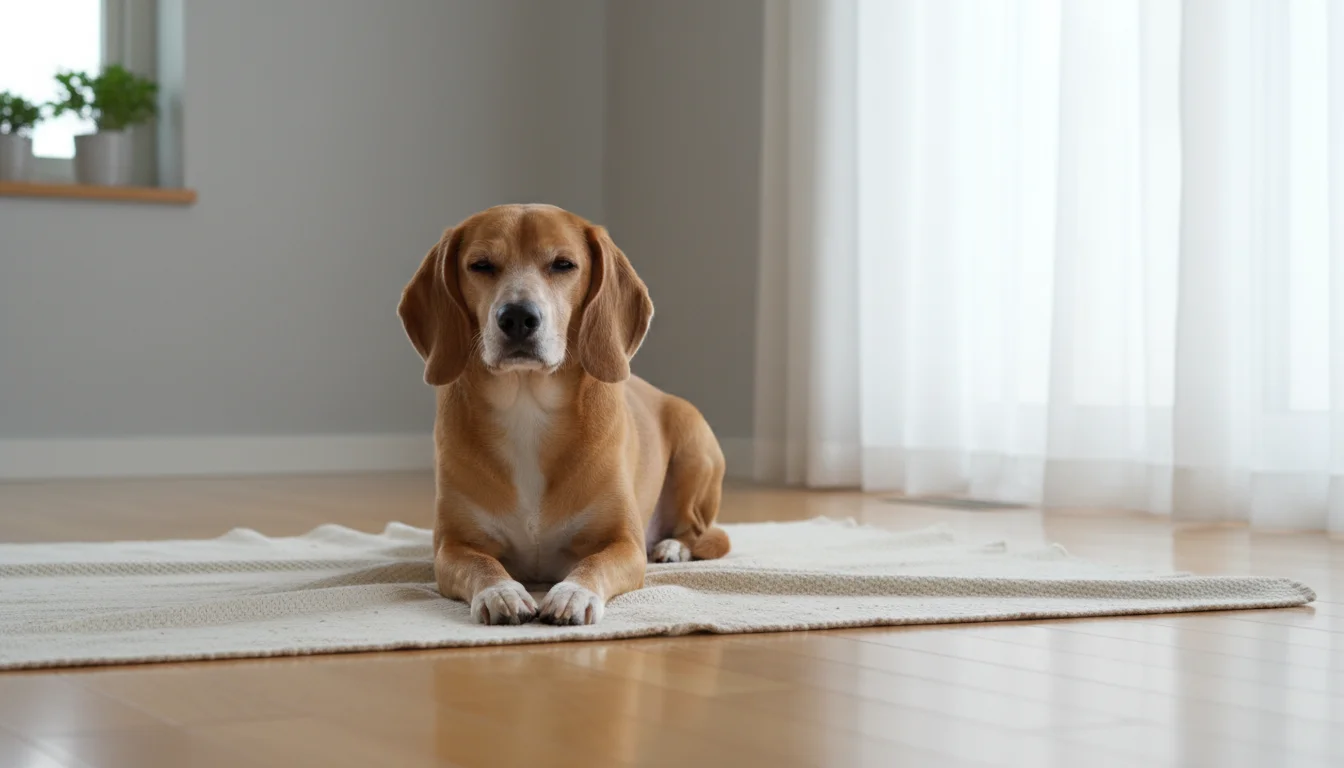
Consider your pet’s energy levels and comfort zones. A high-energy dog may be best photographed during a quick play session, while a shy cat might prefer a quiet corner. Never force your pet into an uncomfortable situation for a photo. Your goal is to make the experience enjoyable, which in turn leads to more authentic and joyful images. Tailor your approach to their individual temperament. For instance, a senior pet might enjoy a calm, posed portrait, while a playful puppy thrives in action shots.
Setting the Scene: Lighting and Background Essentials
Good lighting transforms a simple snapshot into a beautiful photograph. Natural light is your best friend when taking pictures indoors. Avoid harsh overhead lights or direct sunlight, which create unflattering shadows. Instead, position your pet near a window, allowing soft, diffused light to illuminate them. Overcast days offer particularly lovely, even light. If natural light is insufficient, use a soft lamp, bouncing its light off a wall or ceiling for a gentler effect.
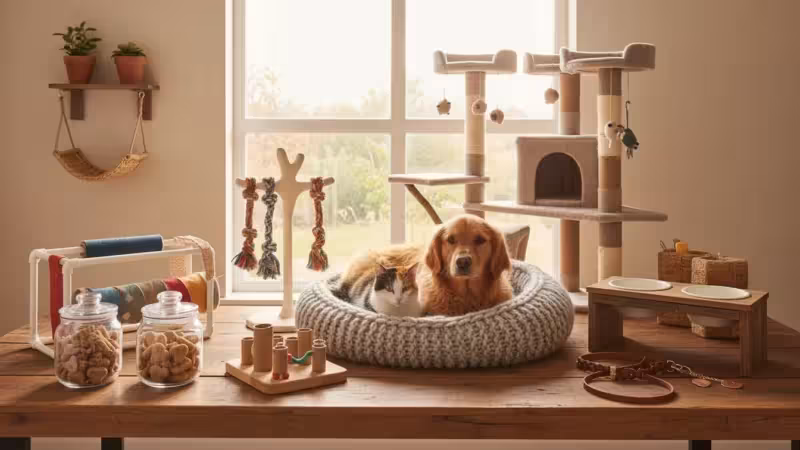
If you want a truly professional look, consider creating an Instagram-worthy pet space in your home that serves as a permanent, stylish studio.
The background of your photo matters just as much as the subject. A cluttered background distracts from your pet. Opt for simple, clean backdrops. A plain wall, a neat blanket, or a tidy corner of your home works perfectly. Ensure the background colors complement your pet’s fur, rather than clashing. For example, a dark-furred cat stands out against a light, neutral wall. Remove toys, cords, or other household items that detract from the image. You want your pet to be the undeniable star of the shot.
Mastering the Shot: Posing, Patience, and Play
Patience is the most crucial tool in your pet photography kit. Pets do not understand verbal cues in the same way humans do, and they rarely “pose” on command. Instead, you capture moments as they unfold. Keep your camera or phone ready, and be prepared to take many photos to get a few gems.
You can also use these sessions to capture your dog performing fun tricks, which often results in the most dynamic action shots.
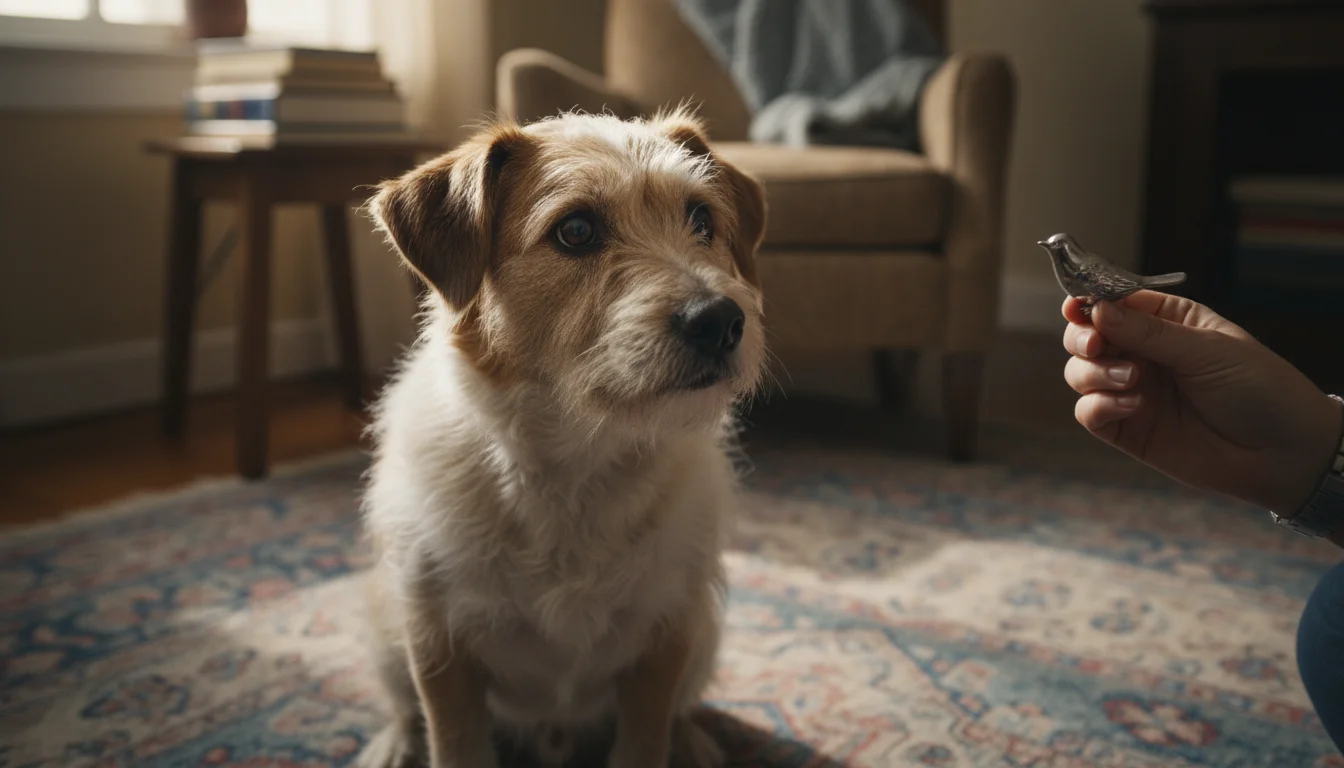
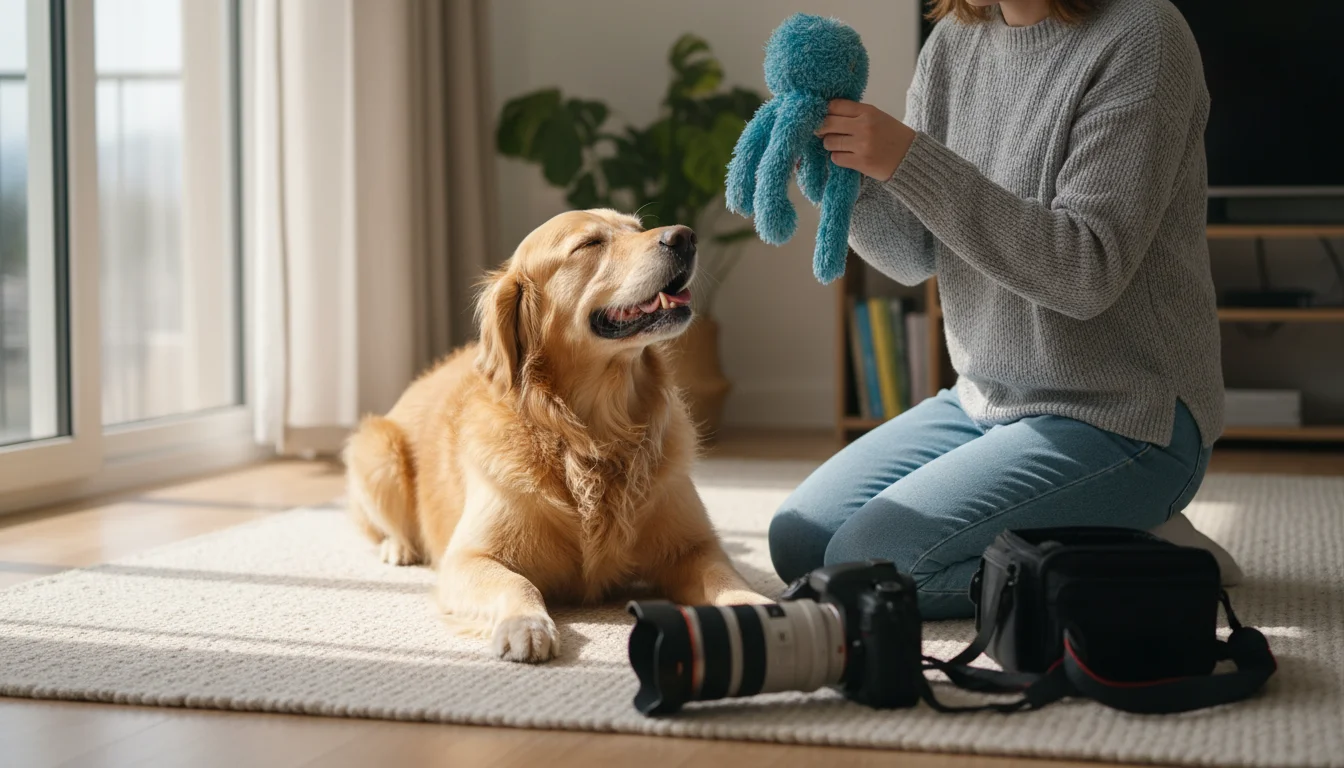
To encourage specific behaviors or gazes, use positive reinforcement. According to the Association of Professional Dog Trainers (APDT), reward-based methods are the most effective and humane way to teach desired behaviors. Use treats, favorite toys, or gentle praise to get your pet’s attention. Hold a treat near the camera lens to encourage them to look in your direction. Make silly noises or squeak a toy to elicit curious head tilts. For action shots, engage your pet in a game of fetch or dangle a feather toy for a cat. Focus your camera on their eyes; sharp eyes immediately draw viewers into the image.
You can also capture your pet in their natural state: sleeping peacefully, grooming themselves, or interacting with a favorite toy. These authentic moments often make the most touching photographs. Remember, safety always comes first; never use treats or toys that could be a choking hazard, and ensure any play is supervised and safe.
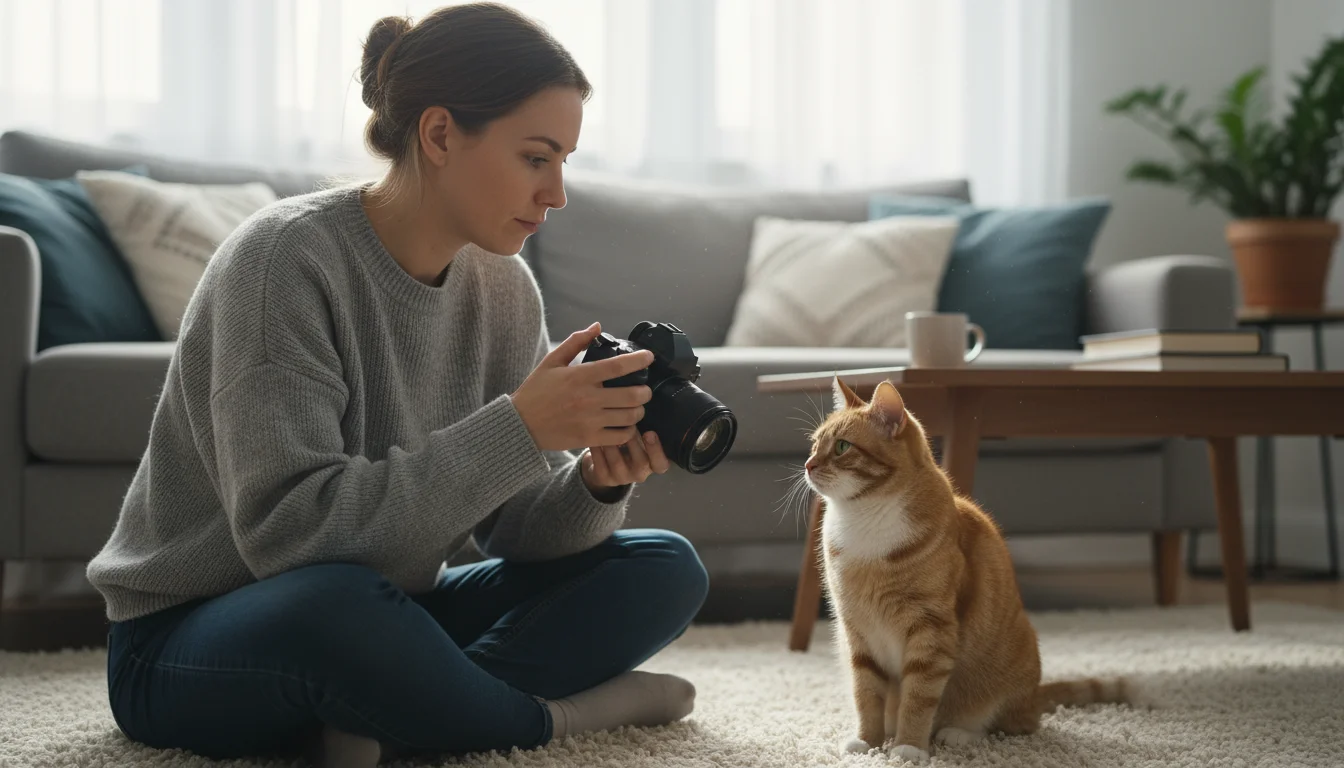
Gear Guide: Making the Most of What You Have
You do not need a professional camera to take fantastic pet photos. Most modern smartphones boast excellent cameras capable of capturing high-quality images. The key lies in understanding how to maximize their potential.
- Smartphones: Utilize “Portrait Mode” for a blurred background effect, making your pet stand out. Clean your camera lens before every shoot. Take advantage of burst mode for fast-moving pets, capturing a sequence of shots to pick the best one. Many phones also allow you to adjust exposure by tapping on the screen to brighten or darken the image before you shoot.
- Entry-Level DSLR/Mirrorless Cameras: If you own a more advanced camera, experiment with aperture priority mode (Av or A). A wider aperture (smaller f-number, like f/1.8 or f/2.8) creates a shallow depth of field, blurring the background beautifully. Use a fast shutter speed (e.g., 1/250 second or faster) to freeze motion, especially with active pets.
- Simple Accessories:
- Reflector: A simple white poster board or a piece of aluminum foil taped to cardboard can bounce light onto your pet, filling in shadows and brightening their features.
- Treat Pouch: Keep treats easily accessible for immediate rewards.
- Long Handle Toy: Use a wand toy for cats or a long stick toy for dogs to direct their gaze towards the camera without your hand being in the shot.
Even with basic equipment, understanding light, composition, and your pet’s behavior gives you a significant advantage. The best camera is always the one you have with you and know how to use.
Creative Angles and Unique Perspectives
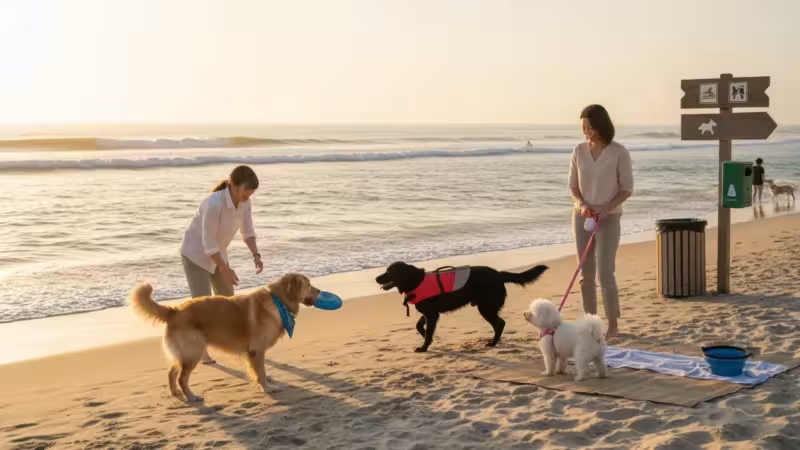
Most people take photos from their own eye level. While these photos are perfectly fine, experimenting with different angles and perspectives elevates your pet photography. Get down to your pet’s eye level. This simple change creates a more intimate and engaging portrait, making the viewer feel more connected to your pet’s world. For smaller pets, you might need to lie on the floor.
Try shooting from above, looking down on your pet, especially if they are nestled in a bed or playing with a toy. This perspective offers a different view of their environment. Consider close-up shots to highlight specific features, such as your cat’s whiskers, your dog’s soulful eyes, or a bird’s vibrant plumage. These detail shots reveal the unique beauty of your companion. You might also try capturing your pet within their environment, showing them interacting with their favorite blanket or looking out a window. These “environmental portraits” tell a story about your pet’s place in your home and life.
Troubleshooting Common Challenges: Blurry Shots and Uncooperative Models
You will inevitably encounter challenges when photographing pets. Blurry images are a common frustration, especially with active animals. To combat blur:
- Increase Shutter Speed: If using a camera with manual controls, set your shutter speed to 1/250s or faster to freeze motion. On a smartphone, ensure good lighting, which automatically allows the camera to use a faster shutter speed.
- Good Lighting: As discussed, ample natural light helps immensely. In darker conditions, cameras struggle to capture fast-moving subjects without blur.
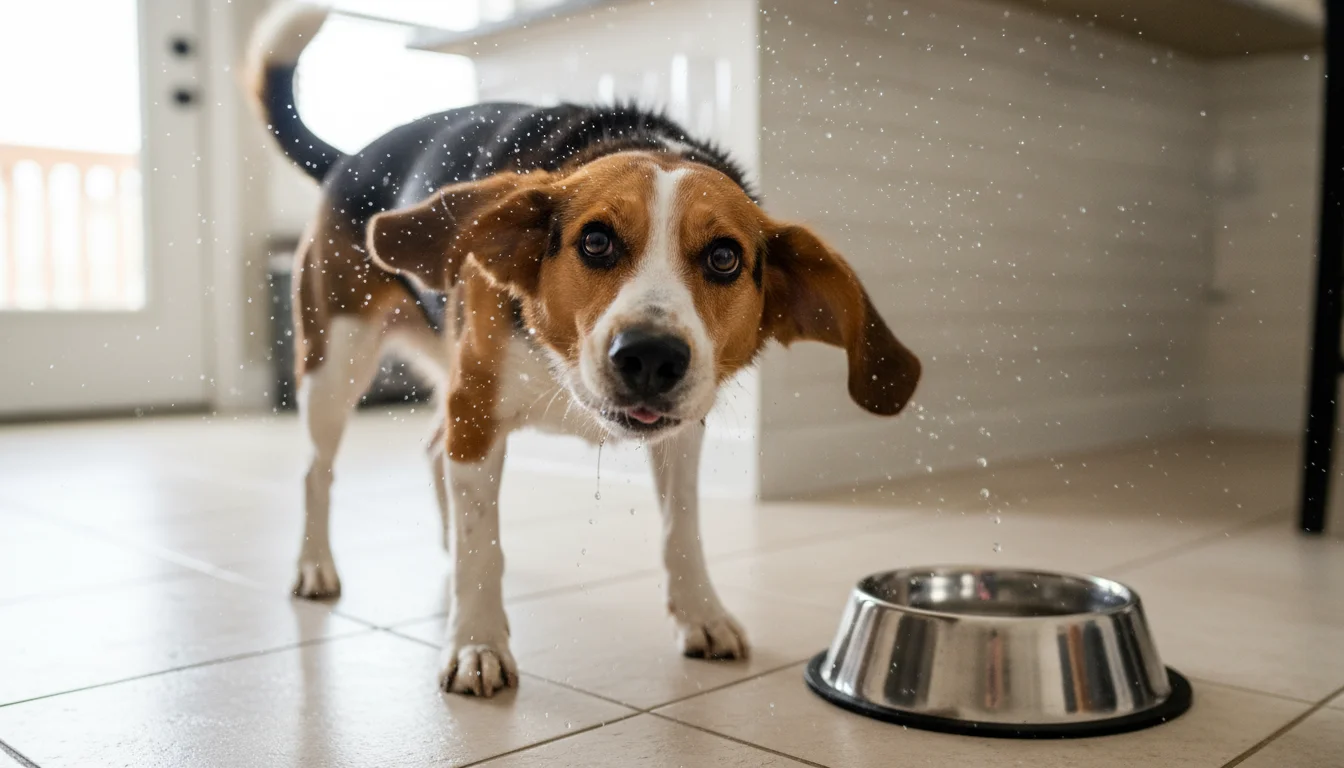
- Anticipate Movement: Observe your pet’s patterns. If you know they will shake their head after a drink of water, be ready.
- Focus on Eyes: Always try to focus your camera on your pet’s eyes. Even if other parts are slightly soft, sharp eyes make the photo look intentional and professional.
An uncooperative pet simply tells you they are not enjoying the experience. If your pet seems stressed, agitated, or simply uninterested, take a break. Push yourself to understand your pet’s signals. As noted by experts at Fear Free Pets, minimizing stress in pets leads to better welfare outcomes and more positive interactions. Never force your pet into a position they dislike or continue a session when they show signs of discomfort, like flattened ears, tail tucked, or excessive yawning. Revisit the photo session later, or try a different approach. Keep it positive, keep it fun, and make it about bonding, not just about getting the perfect shot. Sometimes, the most candid and charming photos happen when your pet is completely unaware of the camera.
Safety First: Prioritizing Your Pet’s Comfort
Your pet’s well-being always takes precedence over getting a perfect photograph. A truly great pet photo captures a happy, relaxed animal. Here are key safety considerations:
- Avoid Stress: Never yell at, punish, or restrain your pet for a photo. This creates a negative association with the camera and with you. Positive reinforcement, patience, and making it a game are far more effective.
- Recognize Body Language: Learn to read your pet’s body language. Signs of stress in dogs include yawning, lip licking, whale eye (showing the whites of their eyes), tucked tail, or crouching. Cats may flatten their ears, hiss, bat, or try to escape. If you see these signs, stop immediately.
- Safe Environments: Ensure the area you are photographing in is safe. Remove small objects your pet might swallow, secure electrical cords, and block access to dangerous areas.
- Treat Safety: Use appropriate treats in moderation. Avoid human foods that are toxic to pets, such as chocolate, grapes, or xylitol-containing products. For a comprehensive list of toxic items, consult resources like the Pet Poison Helpline.
- No Dangerous Props: Avoid using props that could scare, injure, or pose a choking hazard to your pet. If using costumes, ensure they are comfortable, non-restrictive, and allow free movement and breathing.
Making the photography session a positive experience strengthens your bond. Your pet will then associate the camera with treats and fun, making future sessions easier and more enjoyable for everyone involved.
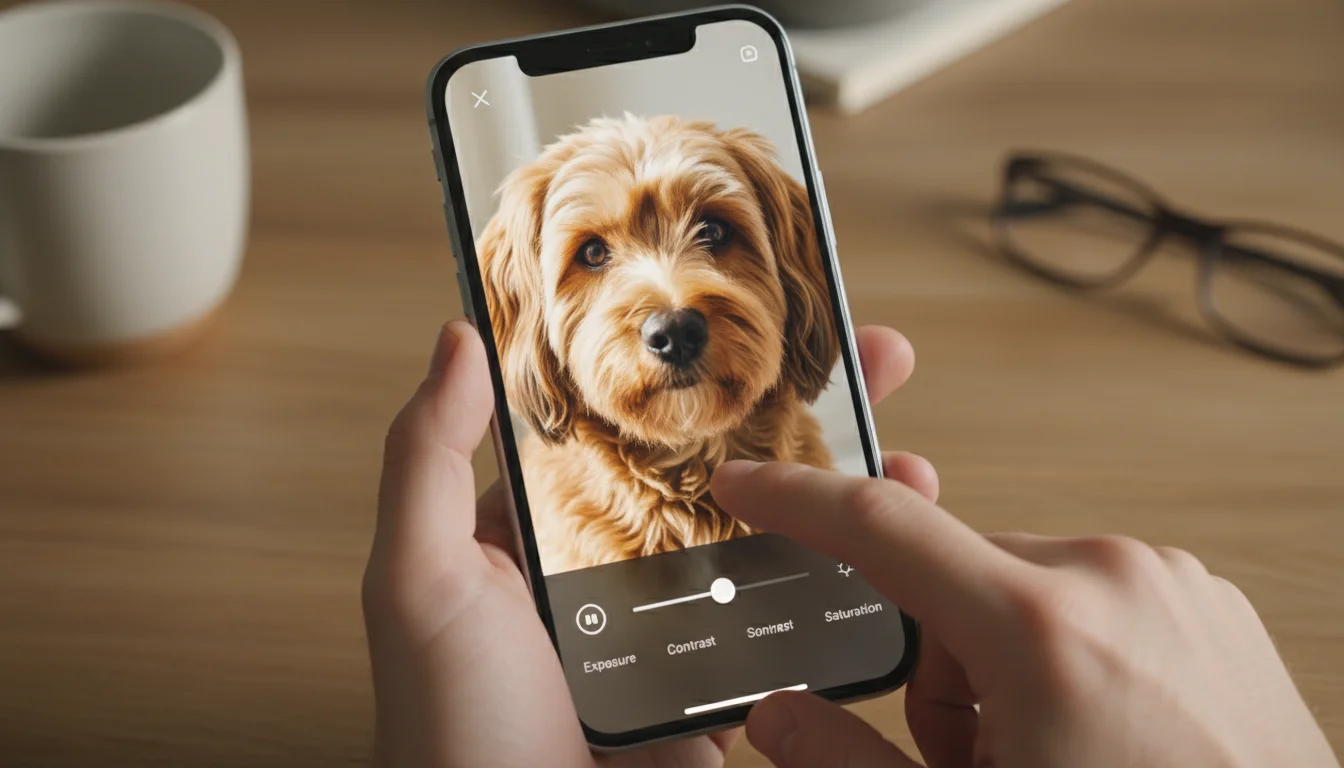
Editing Basics: Enhancing Your Pet’s Best Features
Even the best raw photos often benefit from a little post-processing. Basic editing can significantly enhance your images without requiring complex software or skills. Most smartphones include built-in editing tools, and free apps like Snapseed or Adobe Lightroom Mobile offer more advanced features.
Here are simple editing steps you can take:
- Crop and Straighten: Crop out distracting elements in the background. If your photo is slightly crooked, straighten it. A well-composed crop draws the eye to your pet.
- Adjust Brightness and Contrast: Slightly increasing brightness can make your pet pop, while adjusting contrast adds depth. Be careful not to overdo it, as this can make the photo look unnatural.
- Color Correction: If your photo has an unwanted color cast (e.g., too yellow from indoor lights), adjust the white balance. You can often choose from presets like “Daylight” or “Shade,” or manually slide the temperature and tint.
- Sharpening: A small amount of sharpening can make fur and eyes look crisper. Over-sharpening creates an artificial, grainy look.
- Highlight and Shadow Adjustments: If parts of your pet are too bright or too dark, adjust highlights and shadows to recover detail.
The goal of editing is to enhance, not transform. You want to make your pet look their best, not create an artificial image. Experiment with different adjustments to see what works best for each photo. Remember to save a copy of your original photo before making extensive edits.
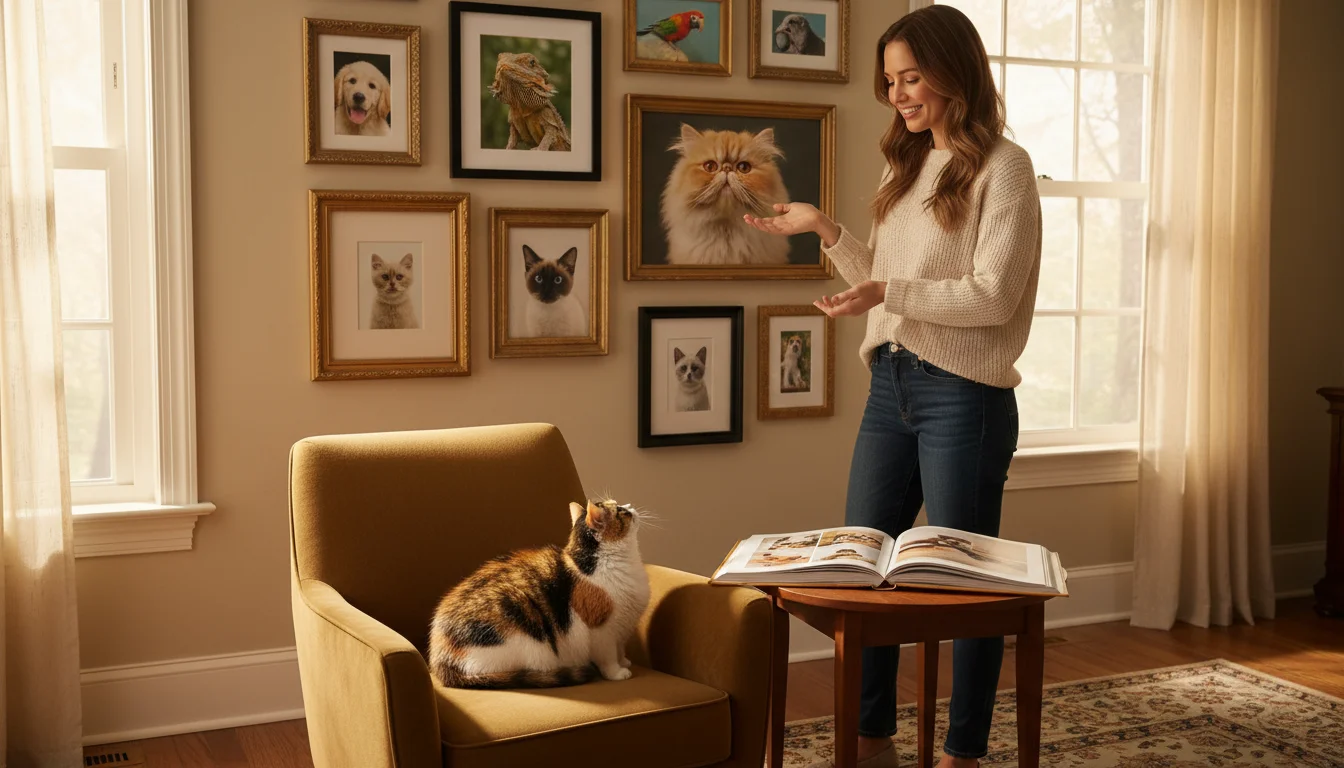
Beyond the Snapshot: Displaying Your Pet’s Photos
After you capture and refine those perfect shots, you will want to display them proudly. Digital photos are wonderful for sharing on social media or with friends and family, but physical prints offer a tangible way to celebrate your pet.
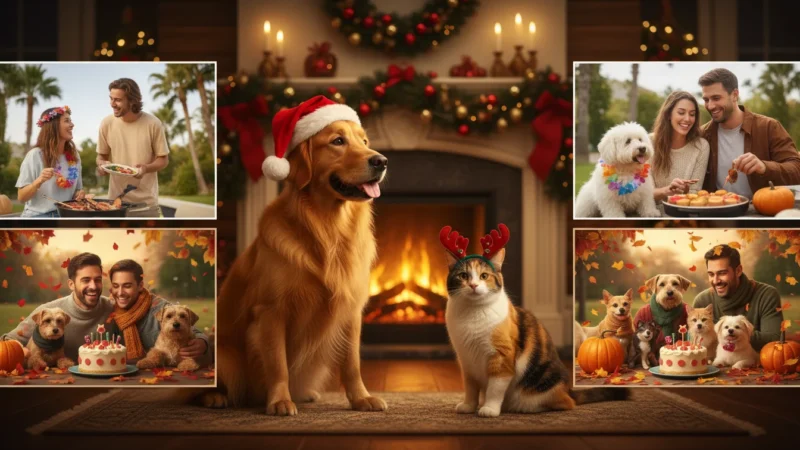
These custom photos also make perfect decorations when you celebrate your pet’s birthday with friends and family.
- Prints and Frames: Print your favorite photos and display them in frames around your home. A gallery wall dedicated to your pets can be a heartwarming feature.
- Photo Albums and Books: Create physical photo albums or custom photo books. These make fantastic keepsakes and gifts. Many online services allow you to design and order high-quality books.
- Personalized Gifts: Turn your pet photos into personalized items like mugs, calendars, phone cases, or even blankets. These items celebrate your pet every day.
- Digital Slideshows and Screensavers: Compile your best shots into a digital slideshow for your smart TV or use them as rotating screensavers on your computer or phone.
These ideas help you integrate your pet’s presence into your home decor and everyday life, reminding you of the joy and companionship they bring.
Frequently Asked Questions
How do I get my pet to look at the camera?
To capture your pet looking directly at the camera, hold a high-value treat or a favorite squeaky toy just above or to the side of your camera lens. Make a short, sharp noise to grab their attention. Be quick with your shot, as their focus often lasts only a moment. Practice this a few times to see what gets their best attention.
What is the best time of day for pet photography at home?
The best time for pet photography at home is usually during daylight hours when natural light is abundant. Position your pet near a window. Early morning or late afternoon often provide softer, warmer light, but avoid direct, harsh midday sun streaming through windows, as it can create strong shadows. Overcast days are also excellent, as the clouds diffuse sunlight, creating even, flattering light.
My pet is shy around the camera. How can I make them more comfortable?
Start slowly. Introduce the camera as a neutral object, letting your pet sniff it without pressure. Associate the camera with positive experiences by giving treats and praise when it is present. Take photos from a distance at first, gradually moving closer. Never force interaction. If your pet shows signs of stress, stop the session and try again later, focusing on positive, low-stress interactions.
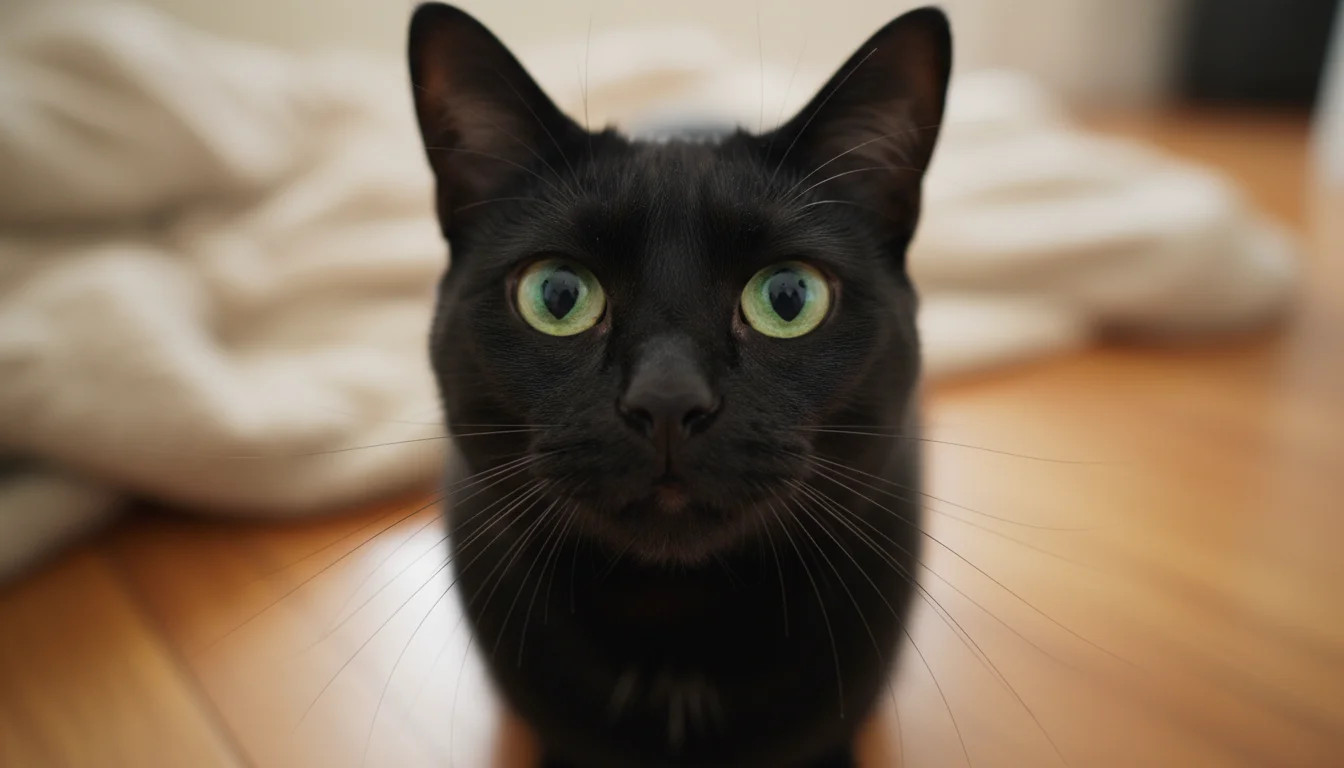
I have a black pet; how do I photograph them without losing detail?
Photographing black pets requires good lighting to prevent them from appearing as a dark blob. Use strong, soft natural light, ideally from a window, and ensure your background is lighter to create contrast. You can also use a reflector (a white poster board) to bounce light onto their fur, revealing details. During editing, increase exposure slightly and adjust shadows and highlights to bring out fur texture.
When should I consider professional pet photography?
Consider professional pet photography for special occasions, such as celebrating a pet’s birthday, capturing a growing puppy or kitten, or creating lasting memories of a senior pet. Professionals have specialized equipment, lighting, and editing skills that can achieve results difficult to replicate at home. They also often have experience working with various pet temperaments, ensuring a safe and comfortable session for your companion.
For expert pet care guidance, visit
American Veterinary Medical Association (AVMA),
American Kennel Club (AKC),
Cat Fanciers’ Association (CFA) and
ASPCA.
Disclaimer: This article is for informational purposes only and is not a substitute for professional veterinary advice, diagnosis, or treatment. Always consult with a licensed veterinarian for medical concerns about your pet.


Leave a Reply